I had set myself a couple of projects to do over the summer break to further develop techniques and learn new workflows as preparation for Year 3’s FMP.
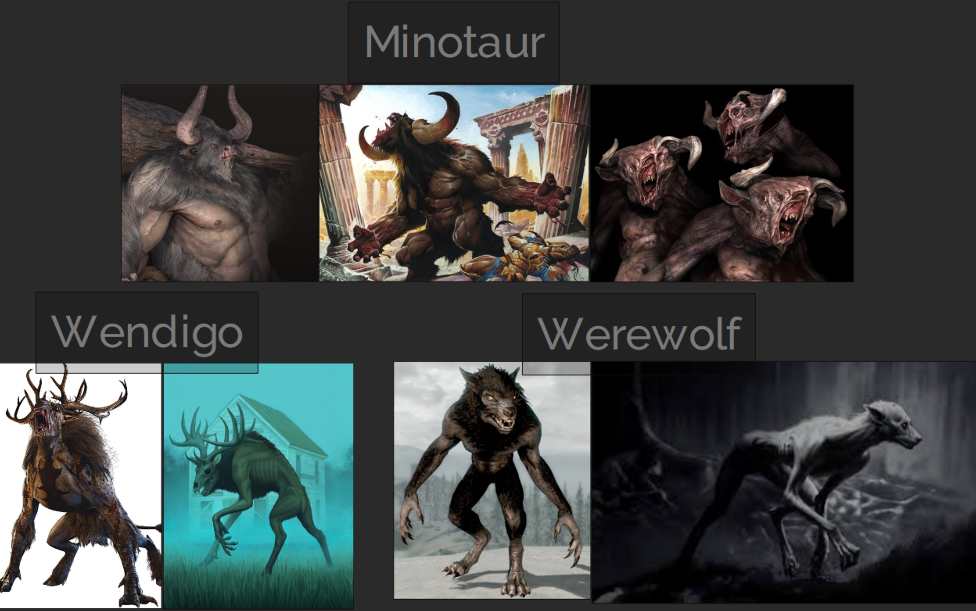
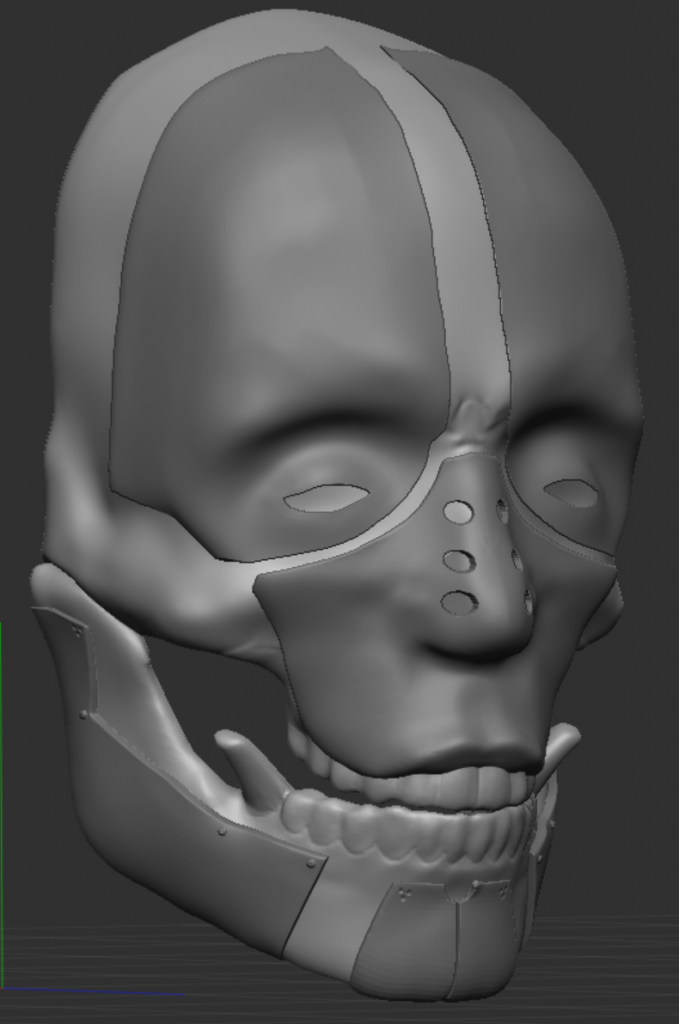
Initial Concept Research:
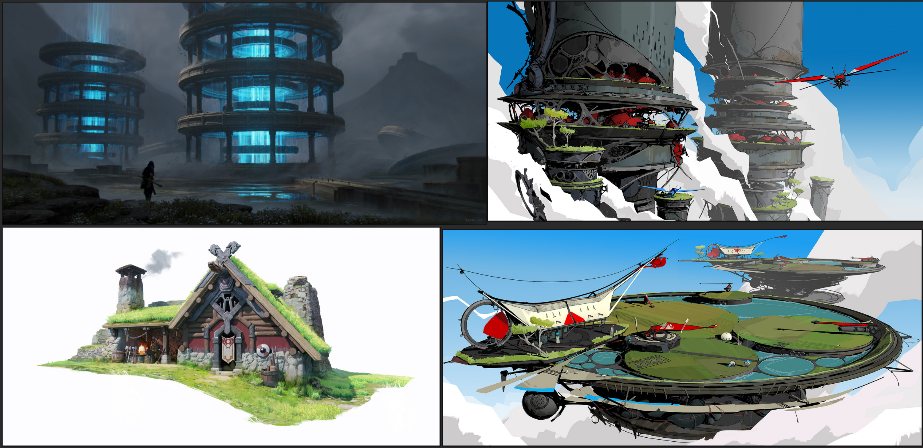
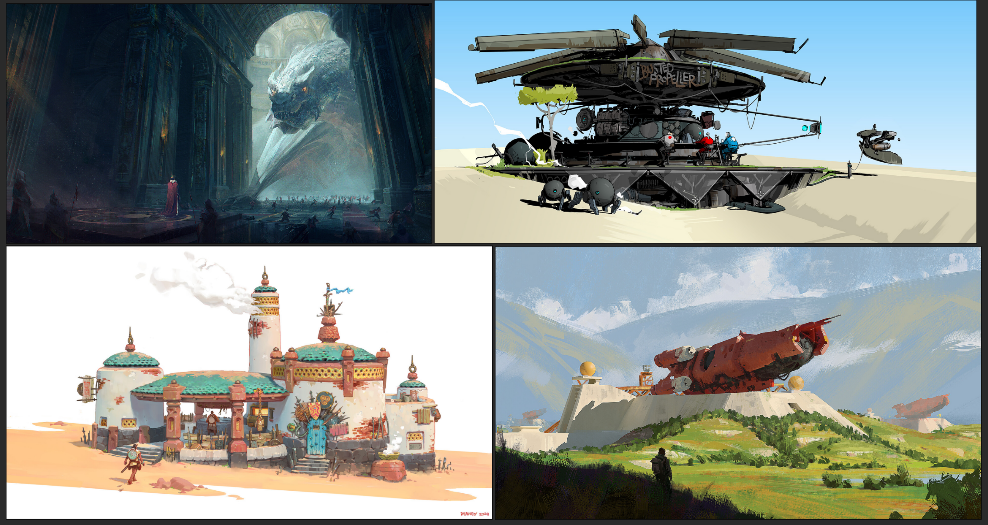
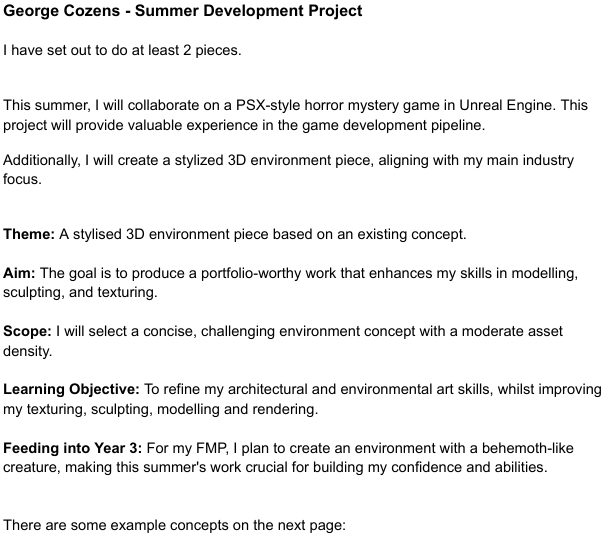
The following were the ones I narrowed it down to.
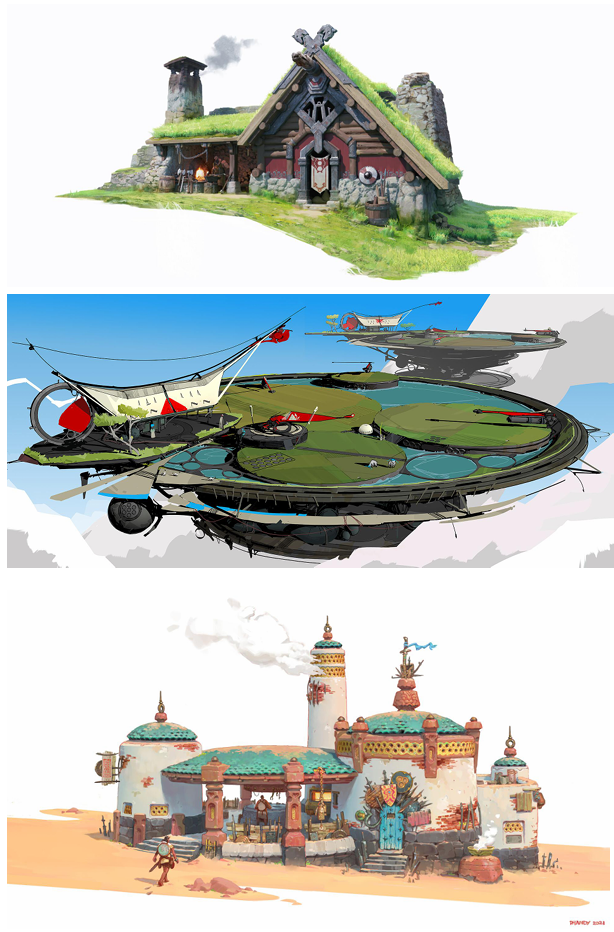
Project 1: I aimed to build a 3D environment piece based on an existing concept, the goal of this was to produce a portfolio-worthy work that enhances my skills in modelling, sculpting and texturing, specifically using trimsheets as this is a new area of learning for me that I want to implement into my FMP. I will select a concise, challenging environment concept with a moderate asset density. I acquired a few concepts that I felt were suitable based on my brief and intentions as seen below I initially started on the first concept but came to the conclusion that it wouldn’t allow for as much utility with a trim sheet compared to the second hence me shelving that on and moving on to the second.
Initial Block out (ended up changing the concept):
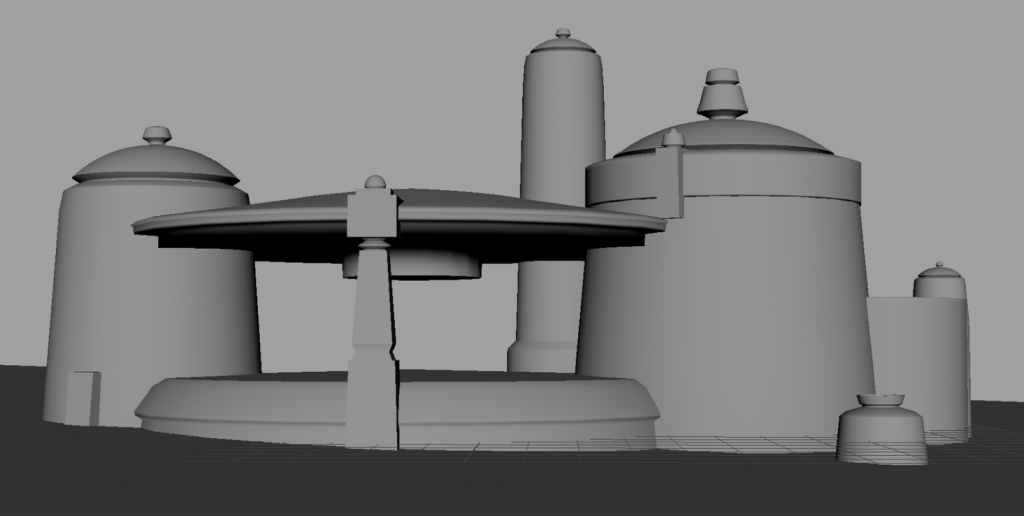
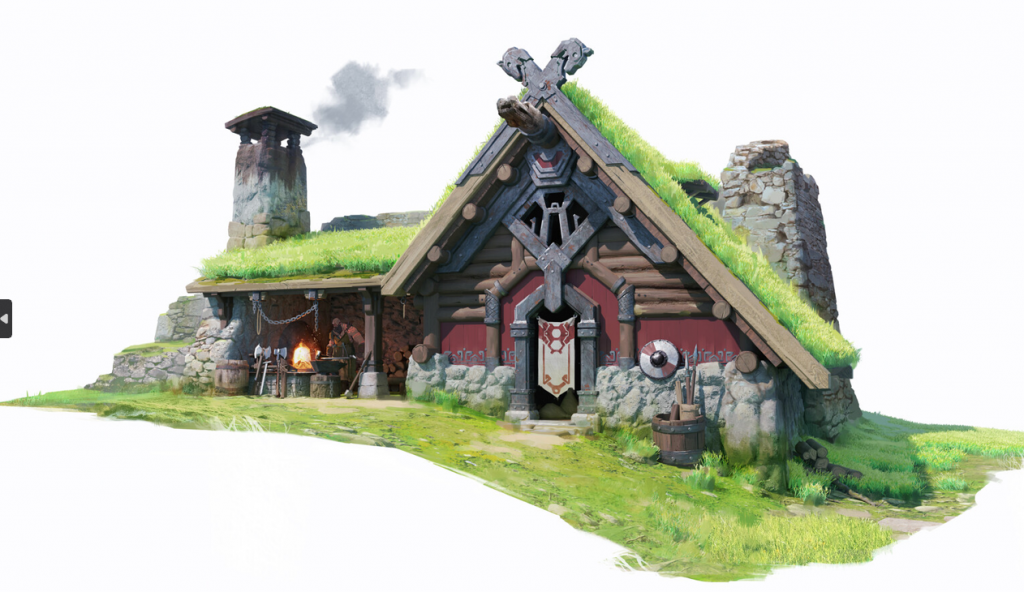
I decided I would use this concept from the artist https://www.artstation.com/cry2017270701
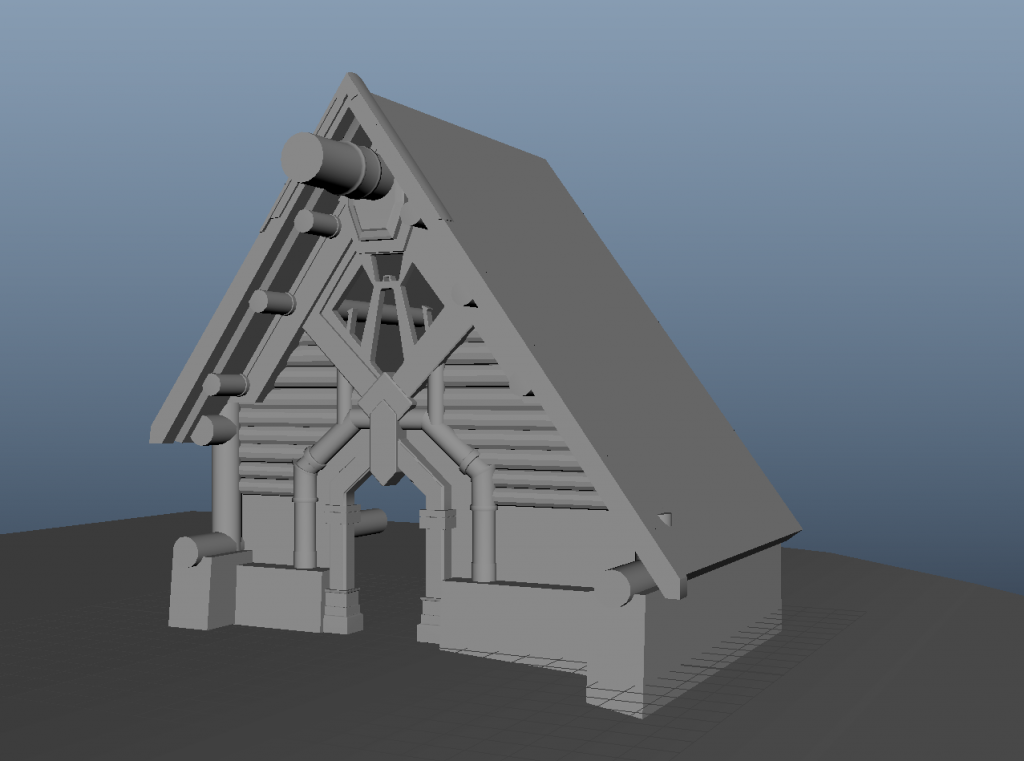
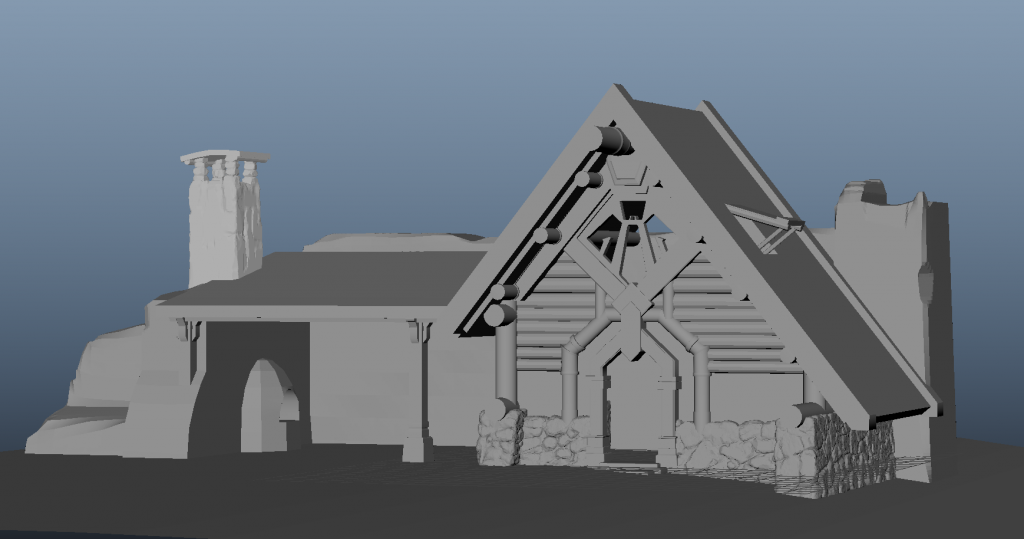
I started by blocking out the main elements and breaking them down into their sections based on the textures/materials they would use.
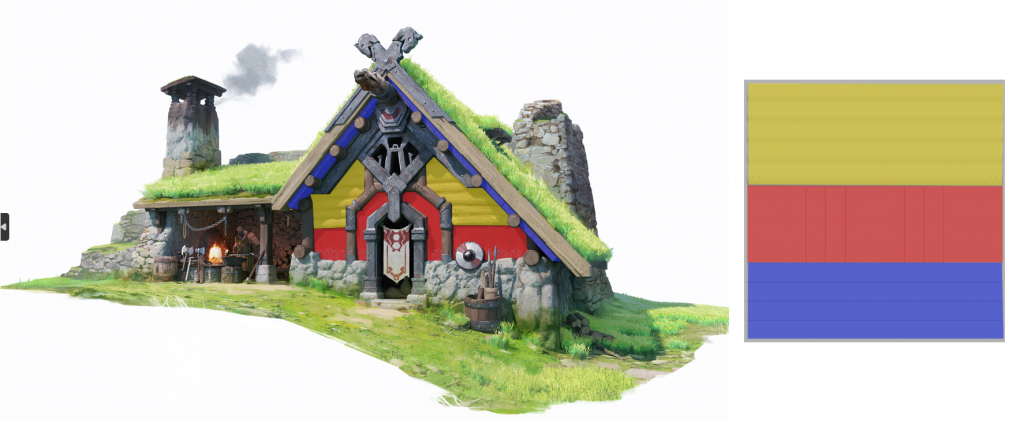
Material Breakdown:
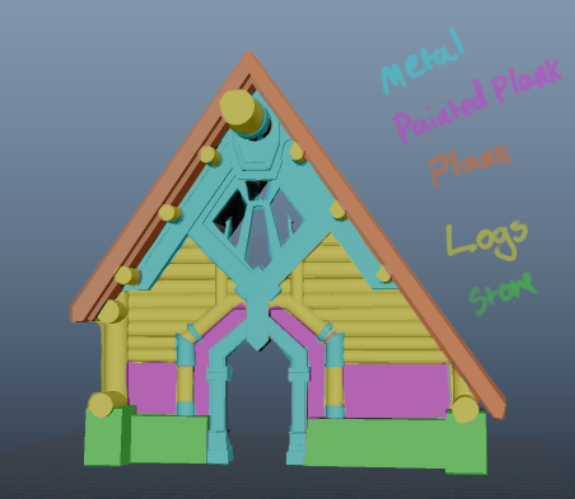
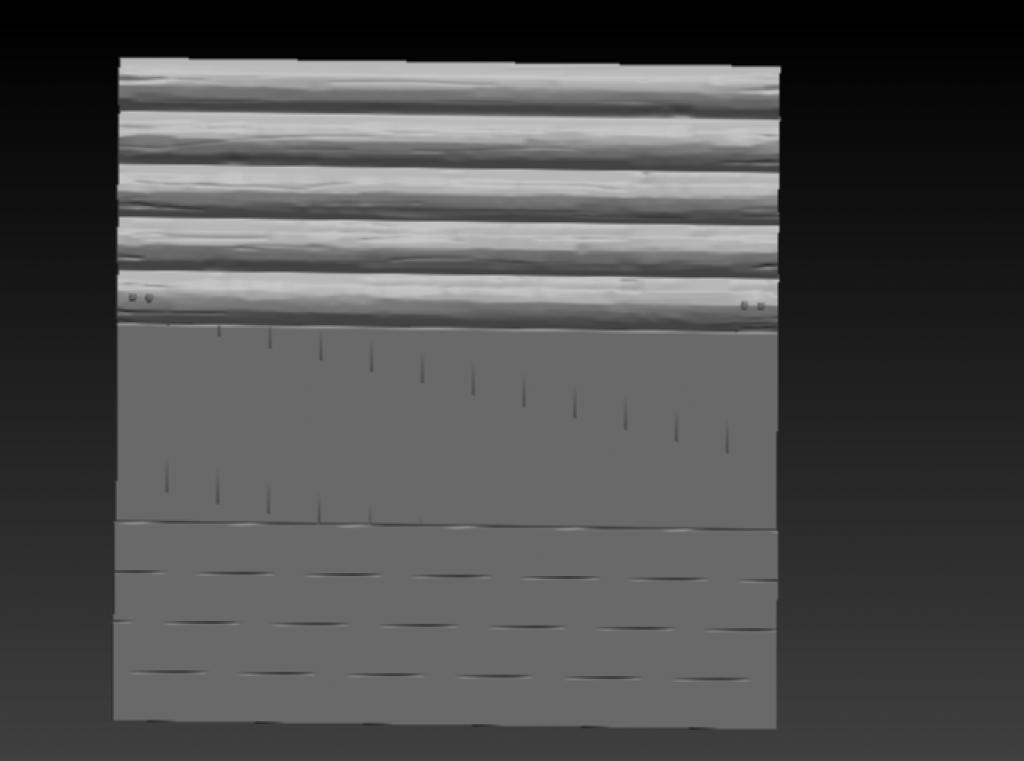
Here is my Trim Breakdown:
At this stage I asked for some feedback from both Luca and Chris Hunter (Works for d3t) who I met at Develop Brighton.
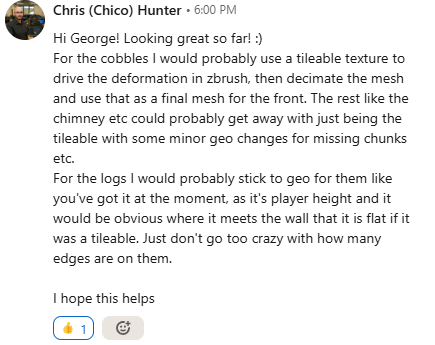
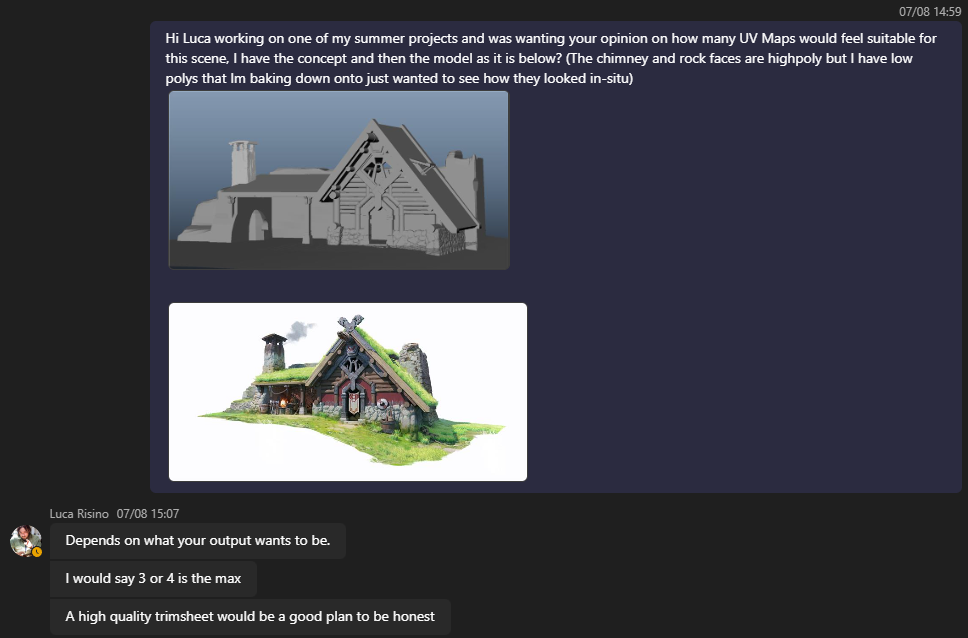
This feedback pushed me to commit to my trimsheet and consider my use of geometry at player height for the logs.
I sculpted my wall in ZBrush as I wanted some depth to the material and I could always bake this down later if necessary.
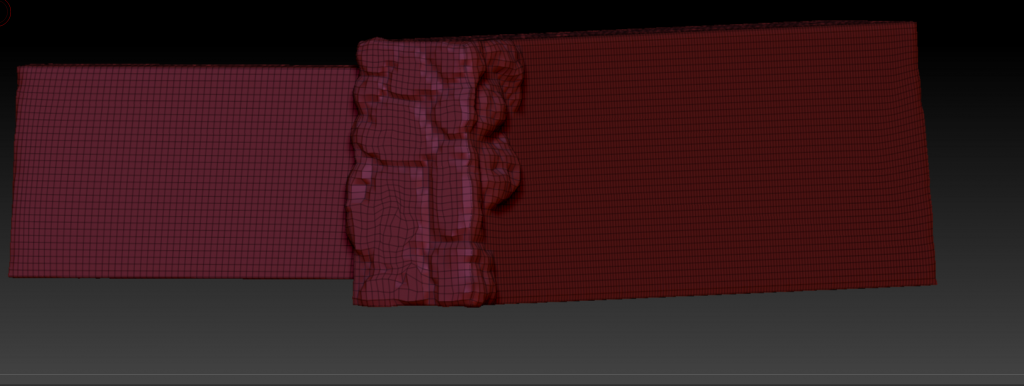
I used a surface noise tool to create some variation and wear on the surface of the rocks.
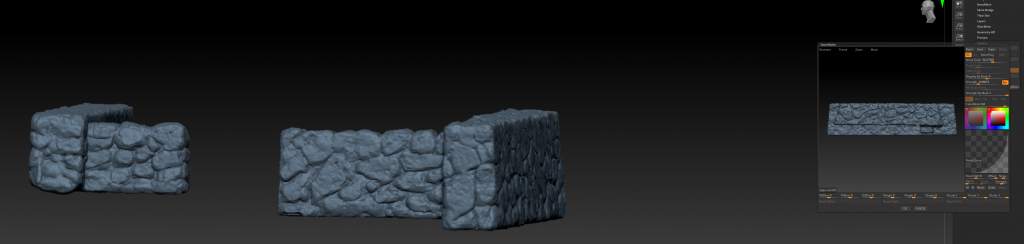
Once I had the majority sculpted and layed out I sculpted and textured my trims.
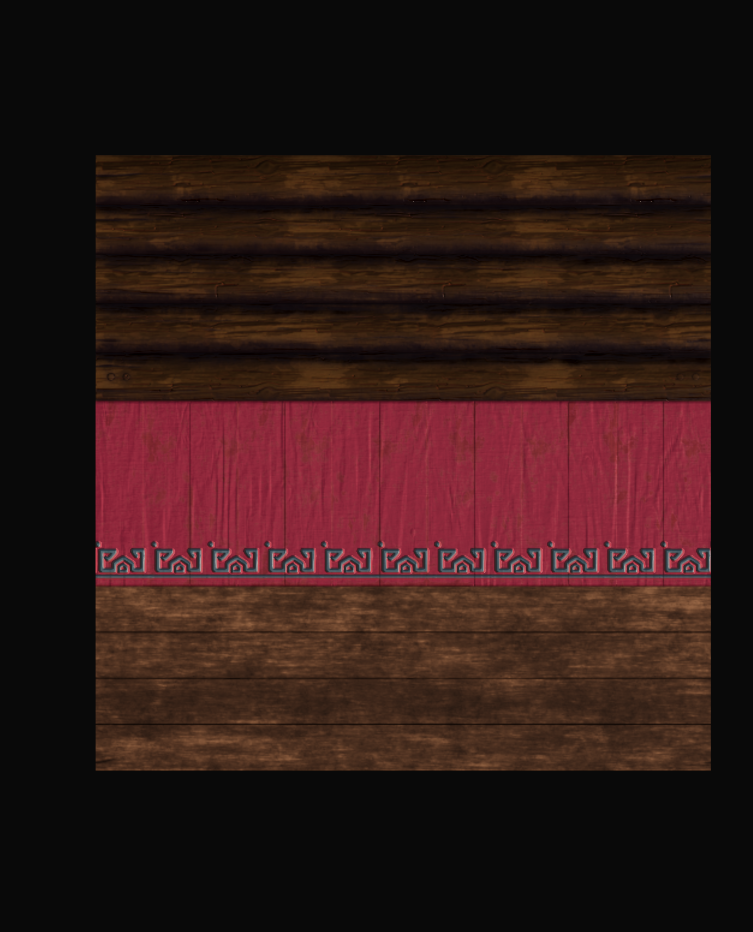
Once I felt happy with these I took them into an Unreal Scene and applied them to my model. This is as far as I got with this particular project but I did learn to successfully implement TrimSheets into my workflow for my FMP.
Some Insitu shots:
It’s definitely a project I plan to come back to complete at a later date and although I wasn’t able to entirely finish the project I learned a lot and got valuable feedback from tutors like Luca and Industry mentors like Chris Hunter from d3t.
Project 2:
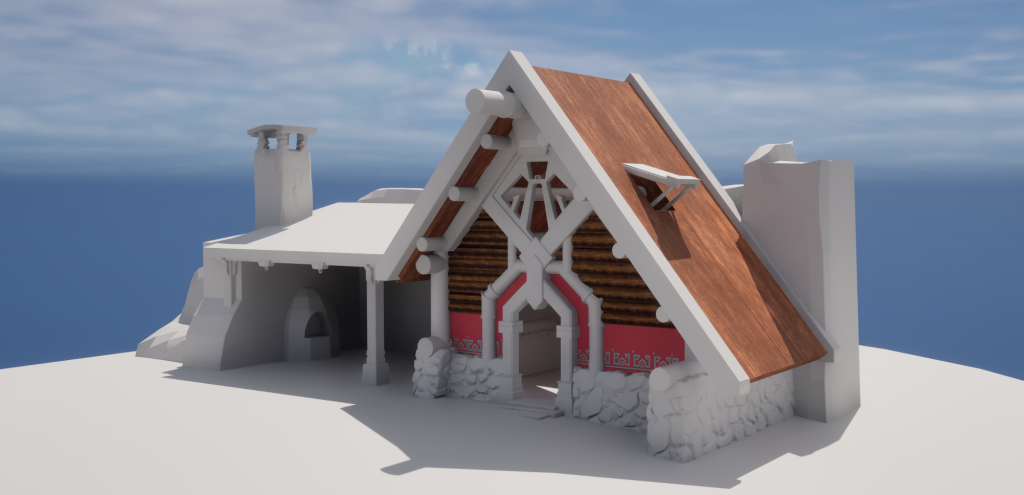
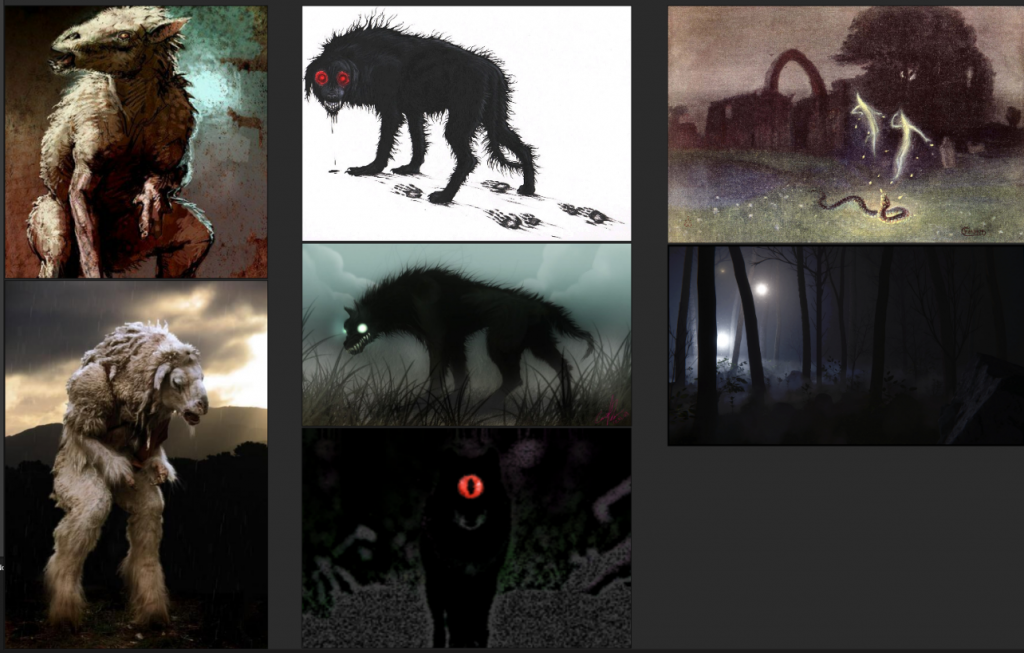
This project was a collaborative effort involving fellow students from the course and external contributions from friends. We developed a PSX-style horror game set in a town called Ramsgill, inspired by Sean’s visit to the location and influenced by films like The Wicker Man. My role focused on contributing to the game’s story and concept development, as well as designing and building one of the key locations: the Farm.
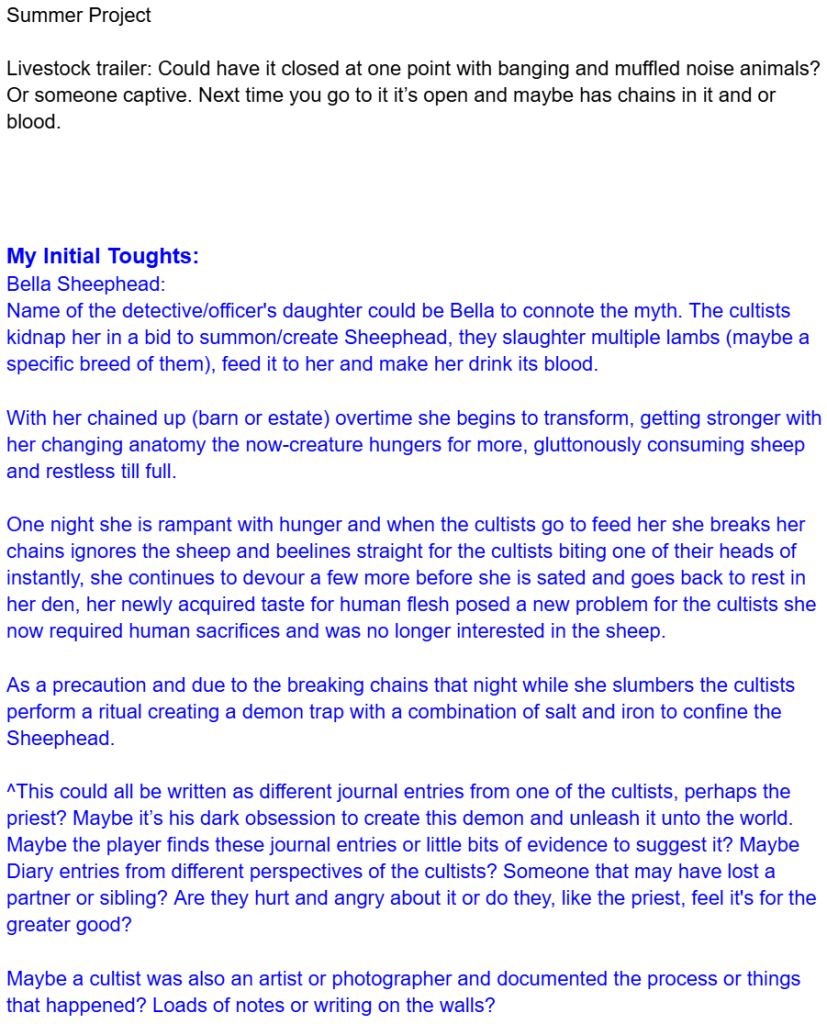
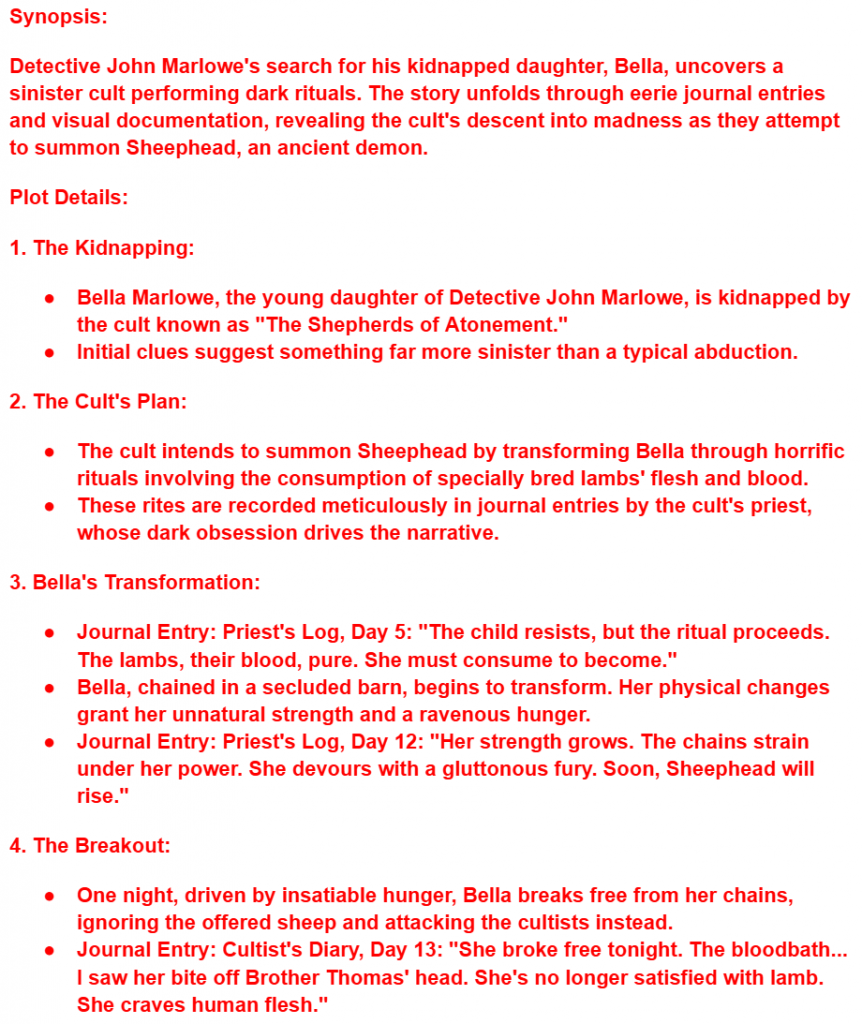
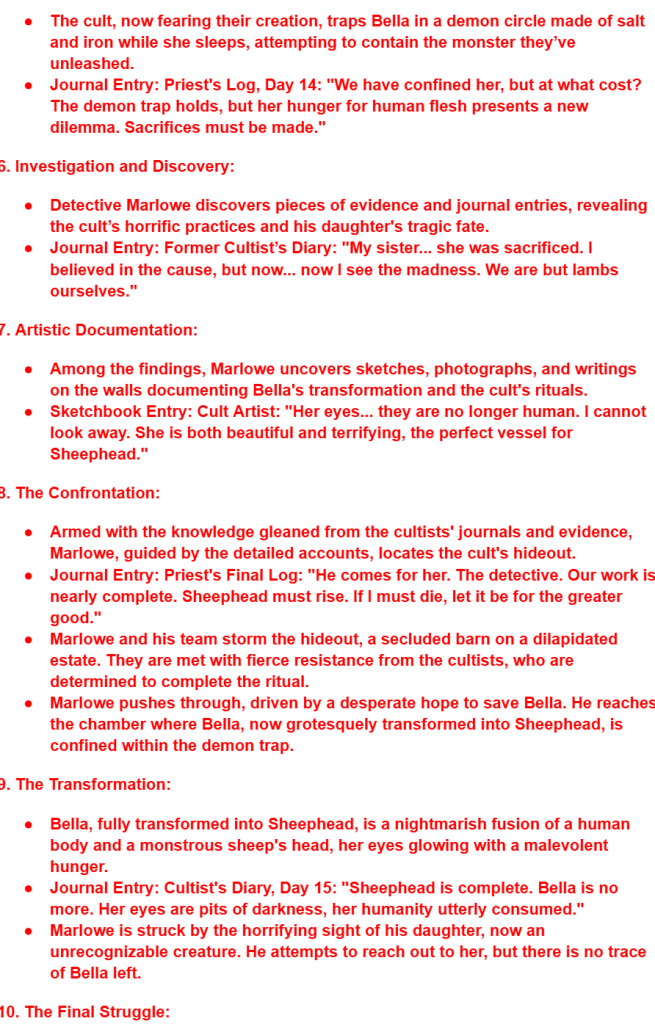
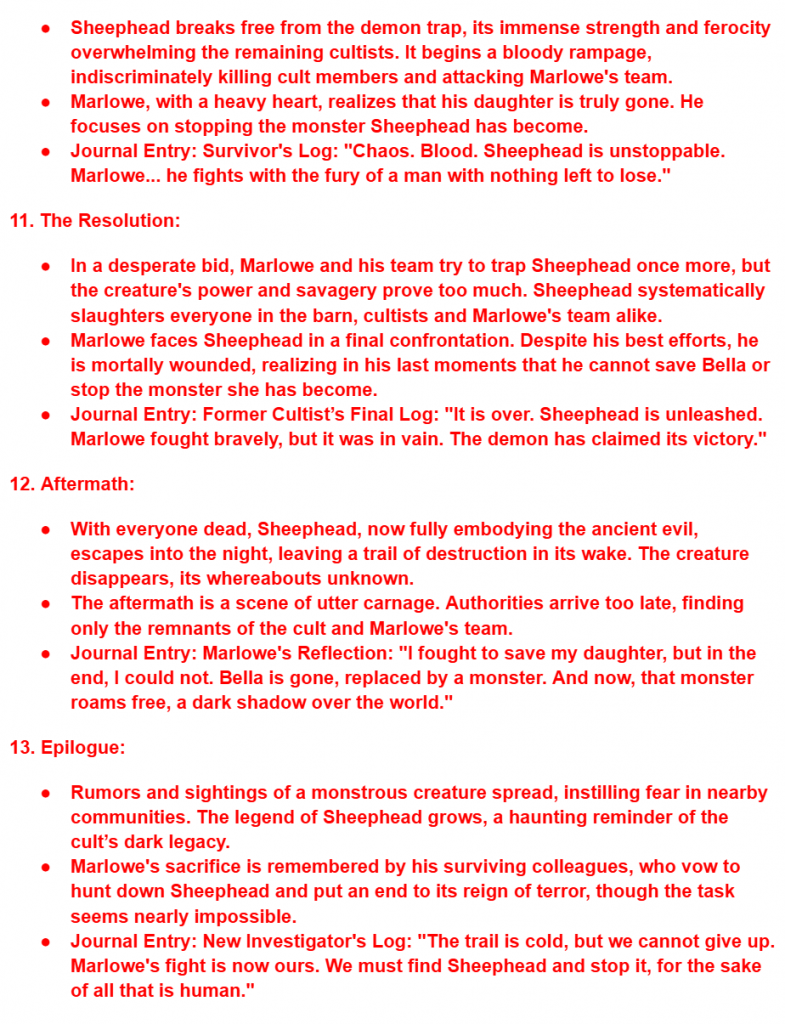
For the narrative, I researched English folklore, incorporating elements such as Black Shuck (legendary black dogs), Will-o’-the-Wisps, and Bella Sheephead. These folkloric elements became integral to the story, with Bella Sheephead featured as one of the main enemies or deities.
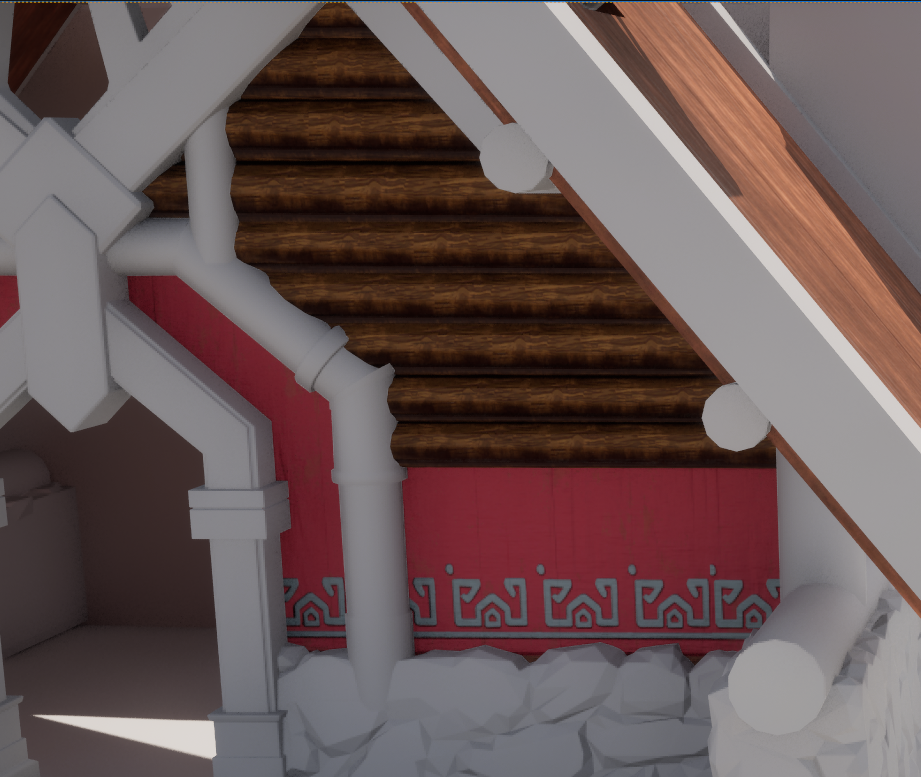
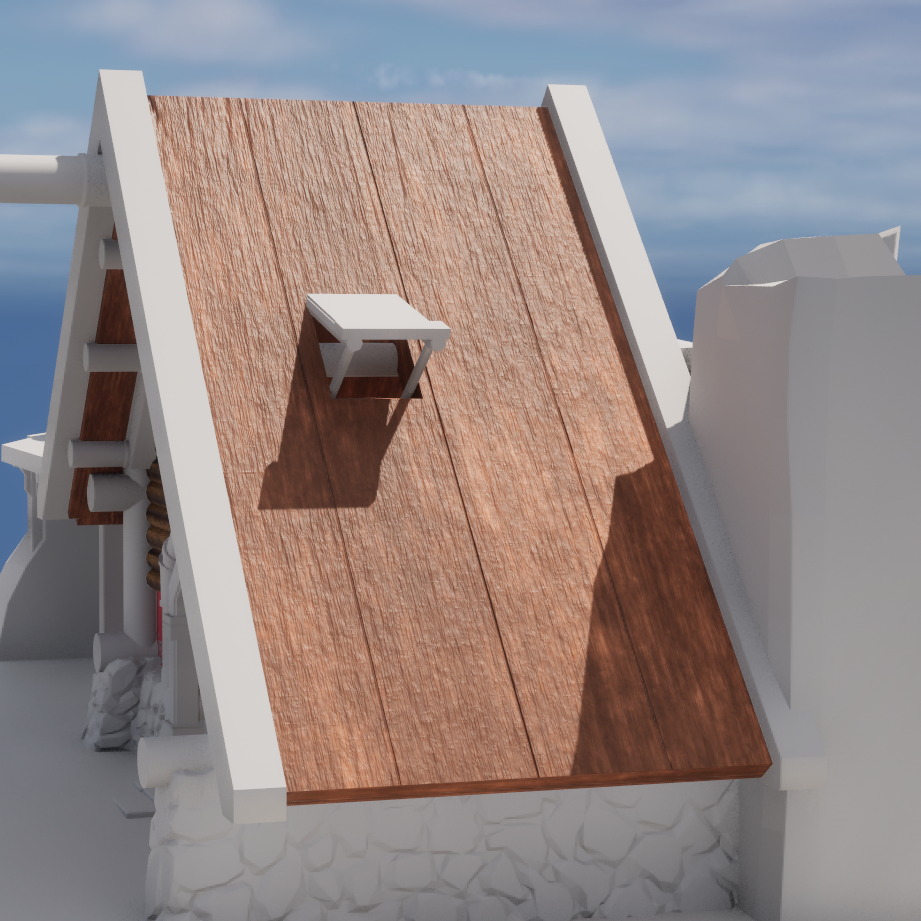
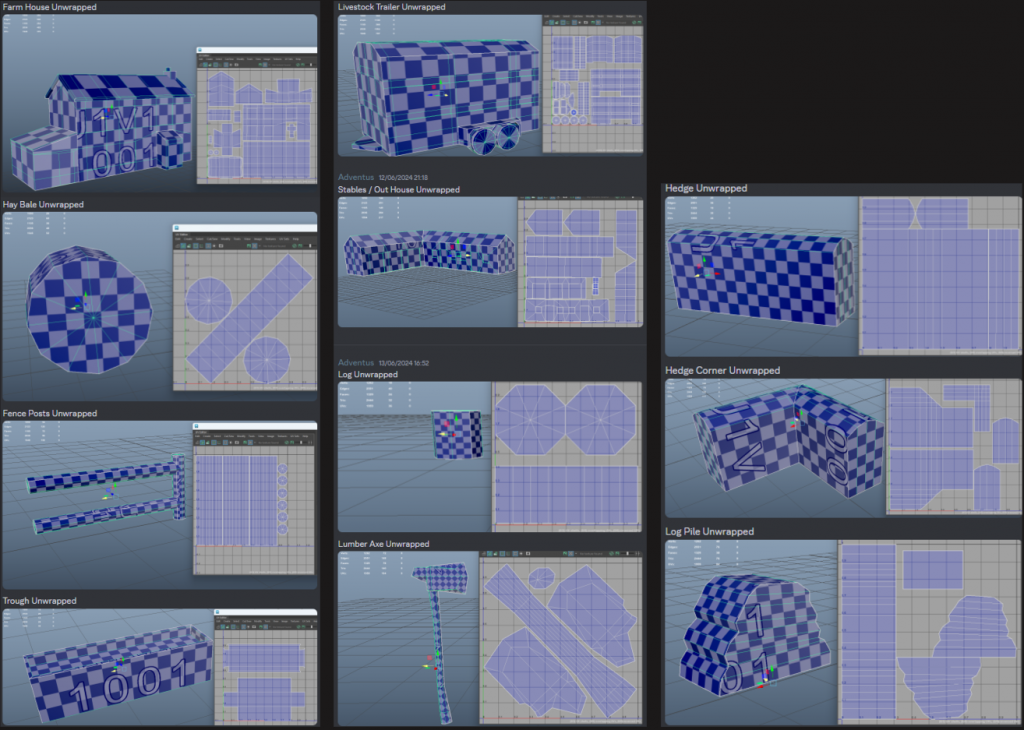
The Farm Assets
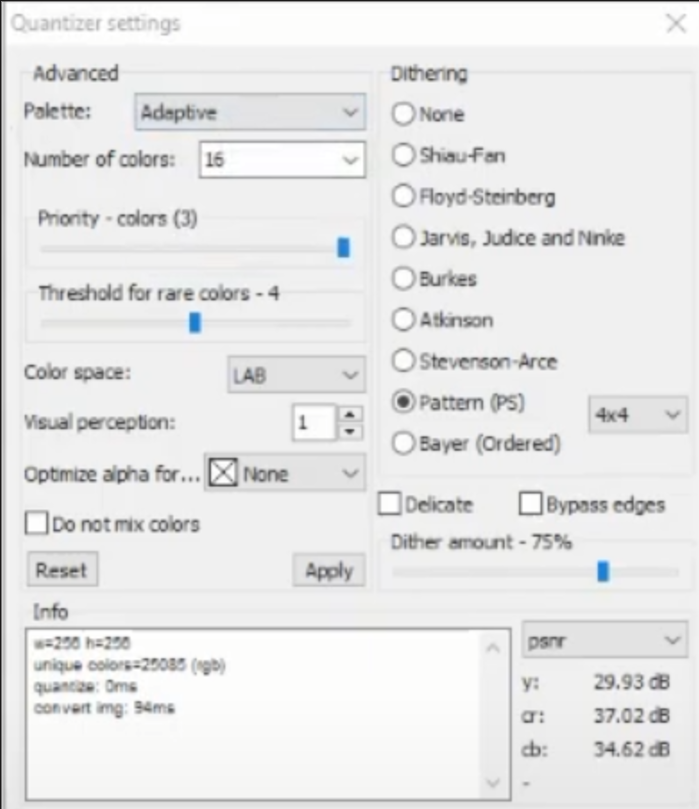
For the texturing process in this project, I used Blender’s texture painting method. I applied reduced-quality image textures to the assets, achieving a “crunchy” pixelated style reminiscent of PSX-era games. After painting the textures, I imported them into Photoshop, where I utilized the healing brush tool to clean up any hard edges on the model’s texture. Finally, I processed the texture through a quantizer, using the settings outlined below, to refine the desired retro aesthetic.
Quantizer Settings
In Situ Shots:
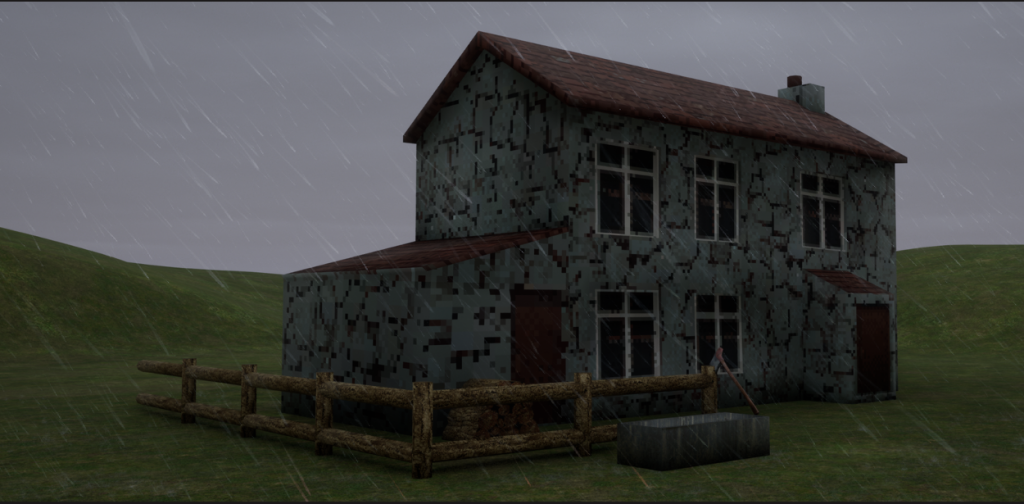
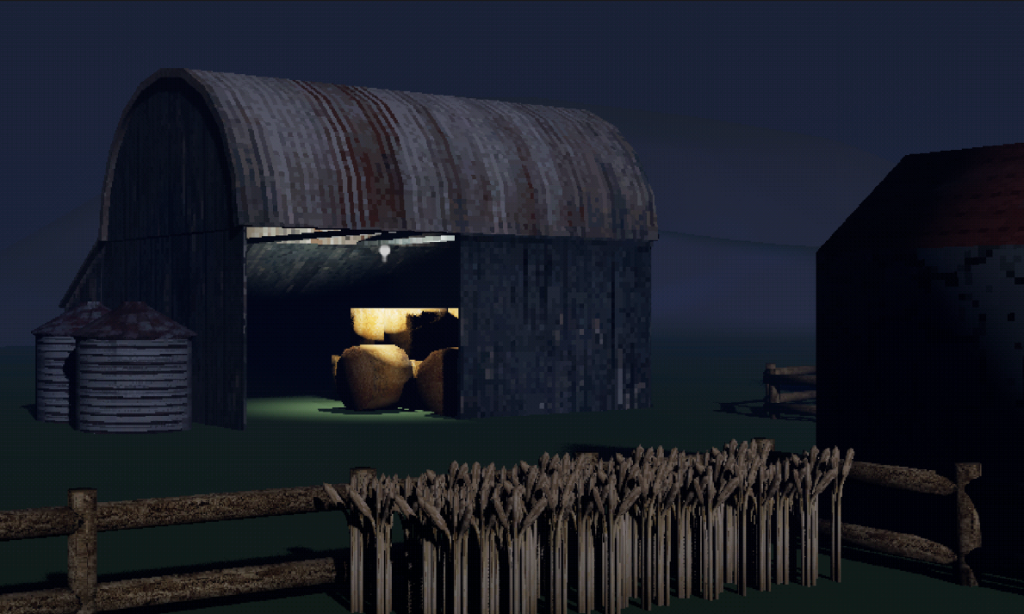
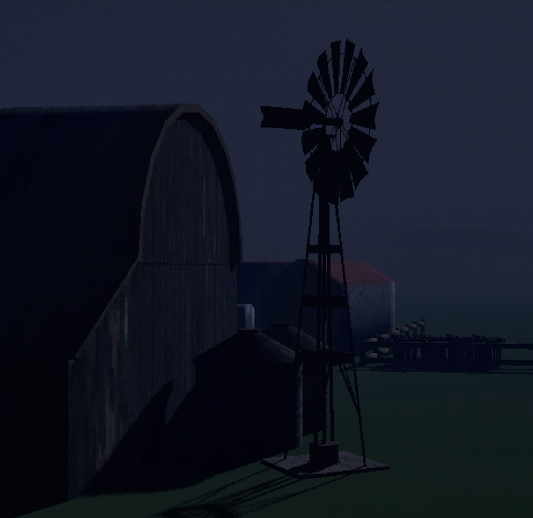
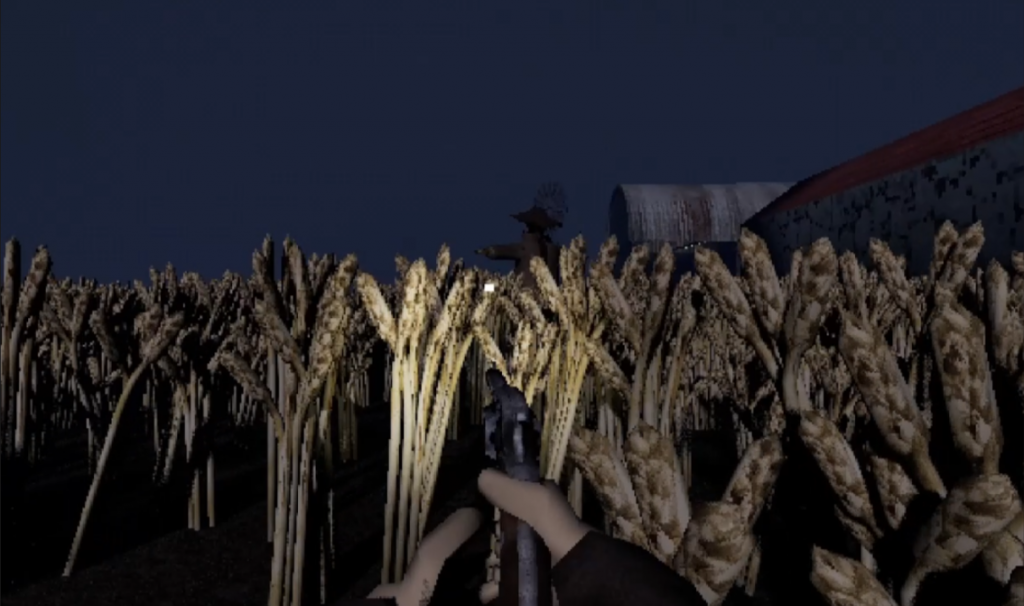
To enhance the environment, I used the UE4 Ultra Dynamic Sky plugin to establish a stormy nighttime theme, adding a moody and atmospheric touch. I also incorporated a blowing wind effect to animate the wheat crops and scarecrows in the field. The following is the final outcome in game.
Project 3:
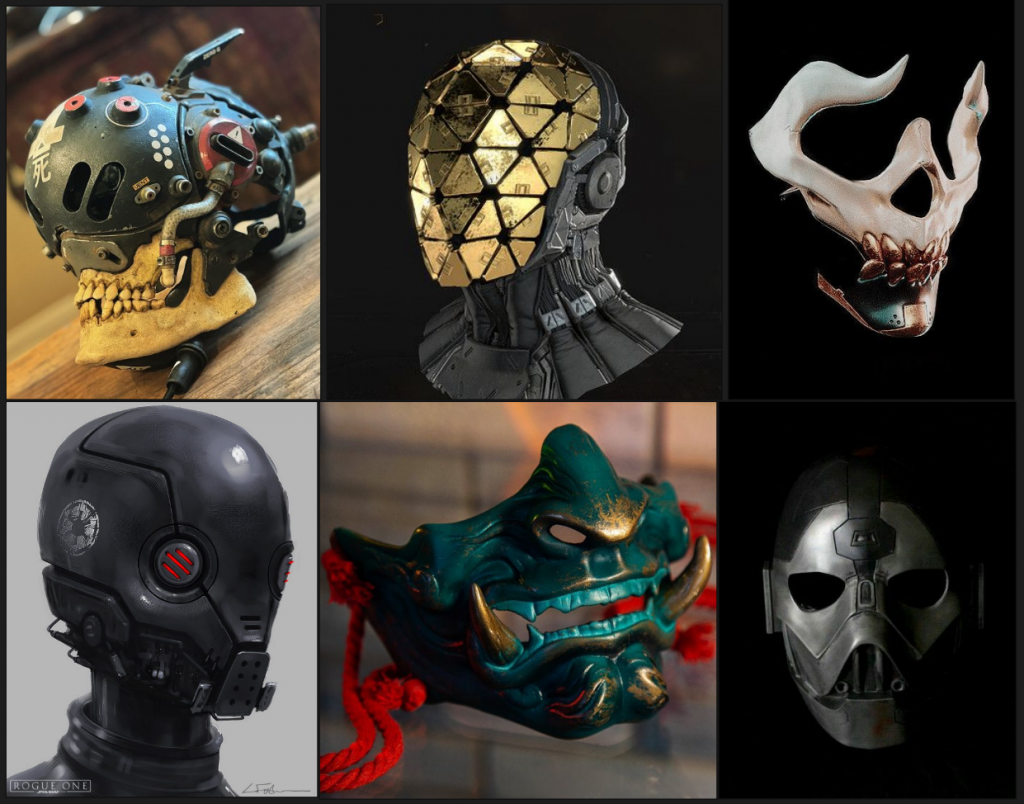
My third short term project I did over summer break was working on a mask based of the following concept.
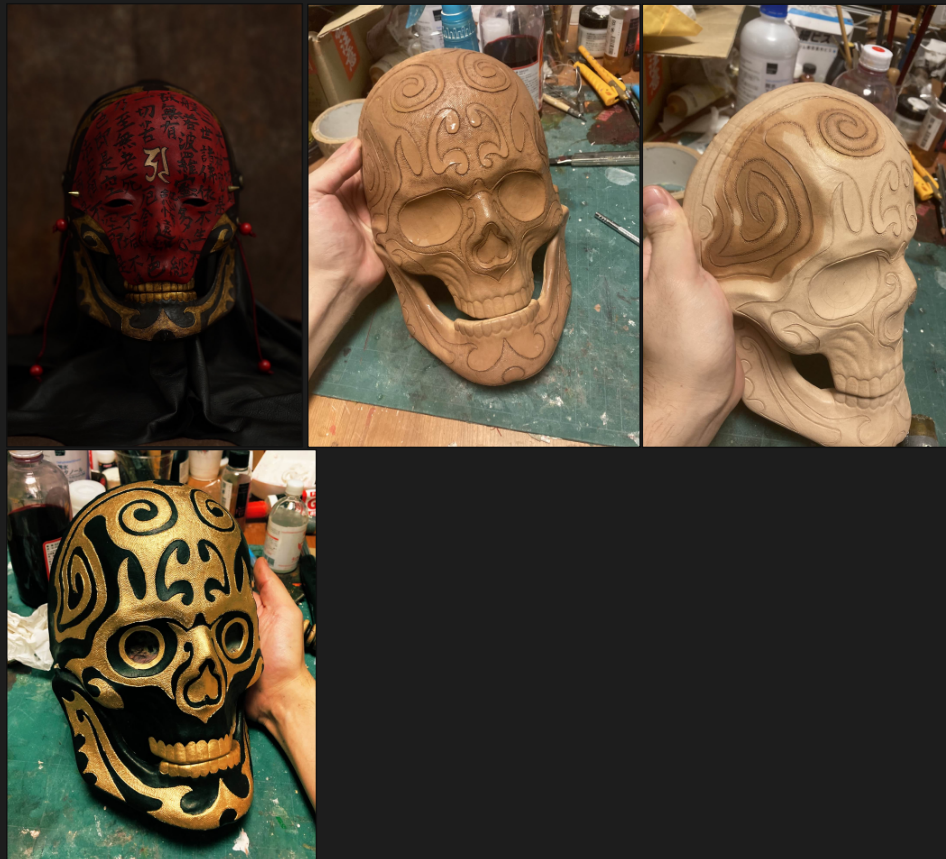
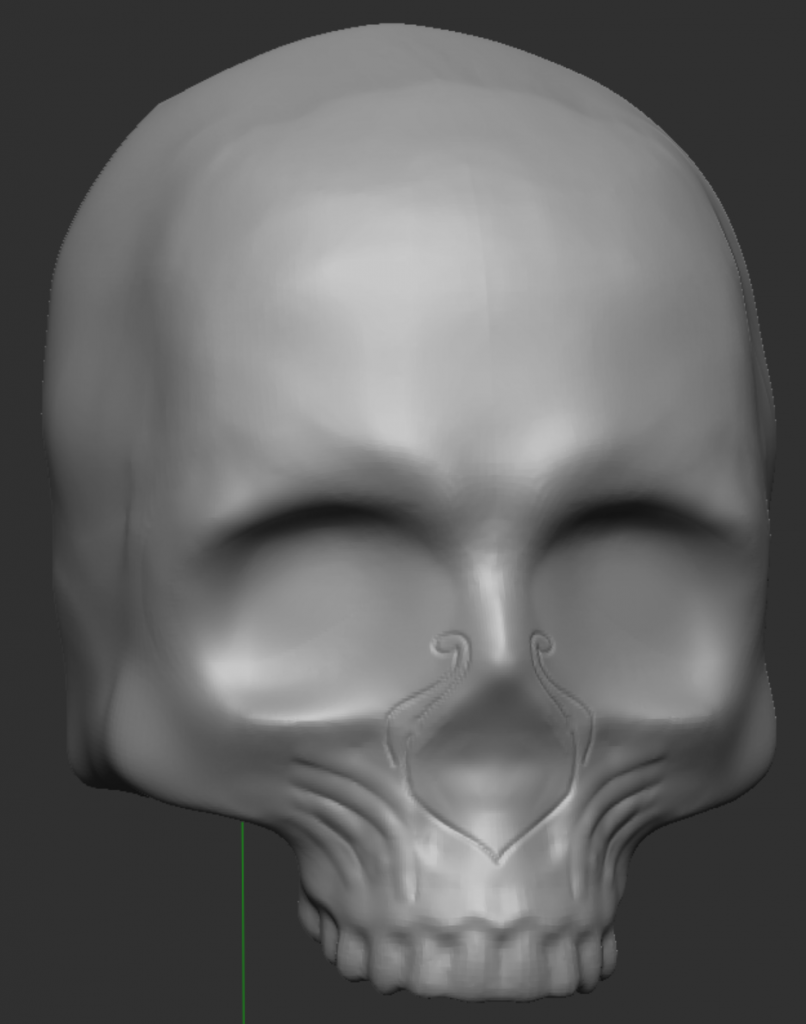
I started with this base skull I got from the lightbox as a foundation and started sculpting it based on my reference.
I cut away the back portion of the head as it wasn’t necessary and removed some of the details through smoothing and Trim Dynamic Brush.
I then began carving in the details with the Dam Standard brush.
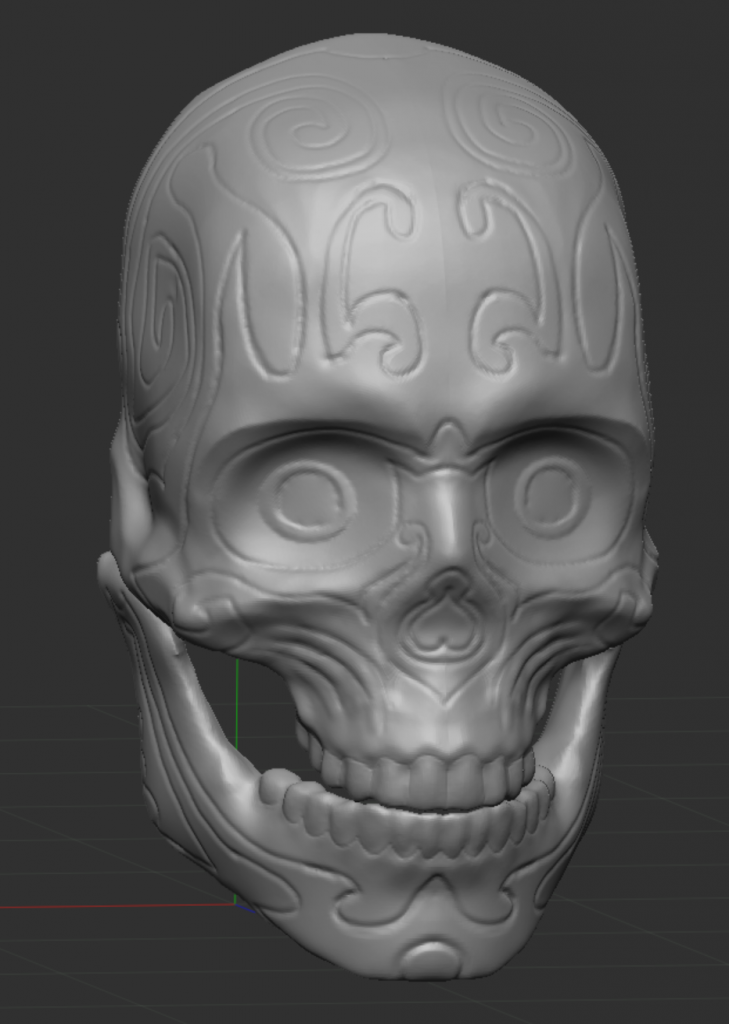
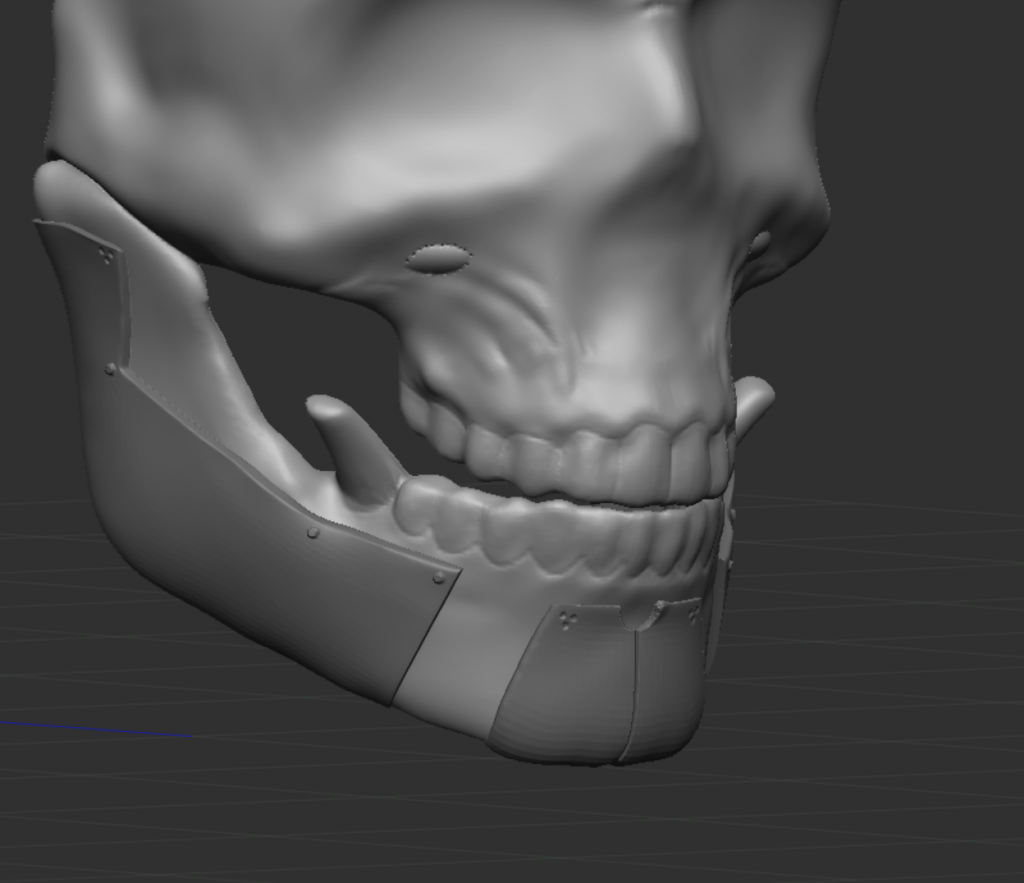
Using the Extract tool I masked off the shape of the top mask and extracted it adding in a nose and upper lip to the mask. At this point I was ready to go into maya for retopology. I also reached out to the artist in regards to using this as a portfolio but they were not happy with the idea of it and felt it was “stealing their art” I decided rather than throwing away the project I would develop it into my own from this foundation.
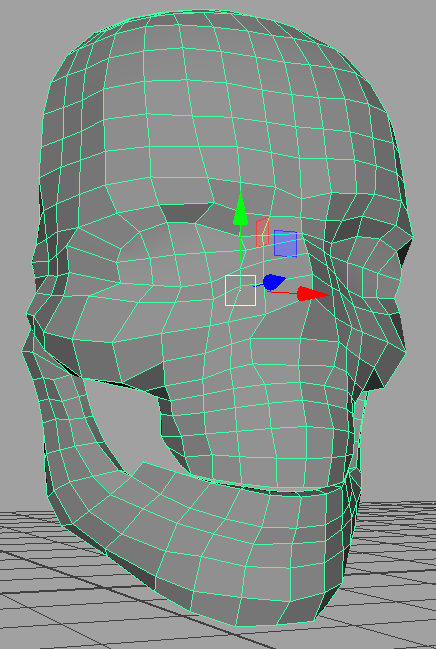
Here is my Retopo of the mask using Maya’s retopology tool.
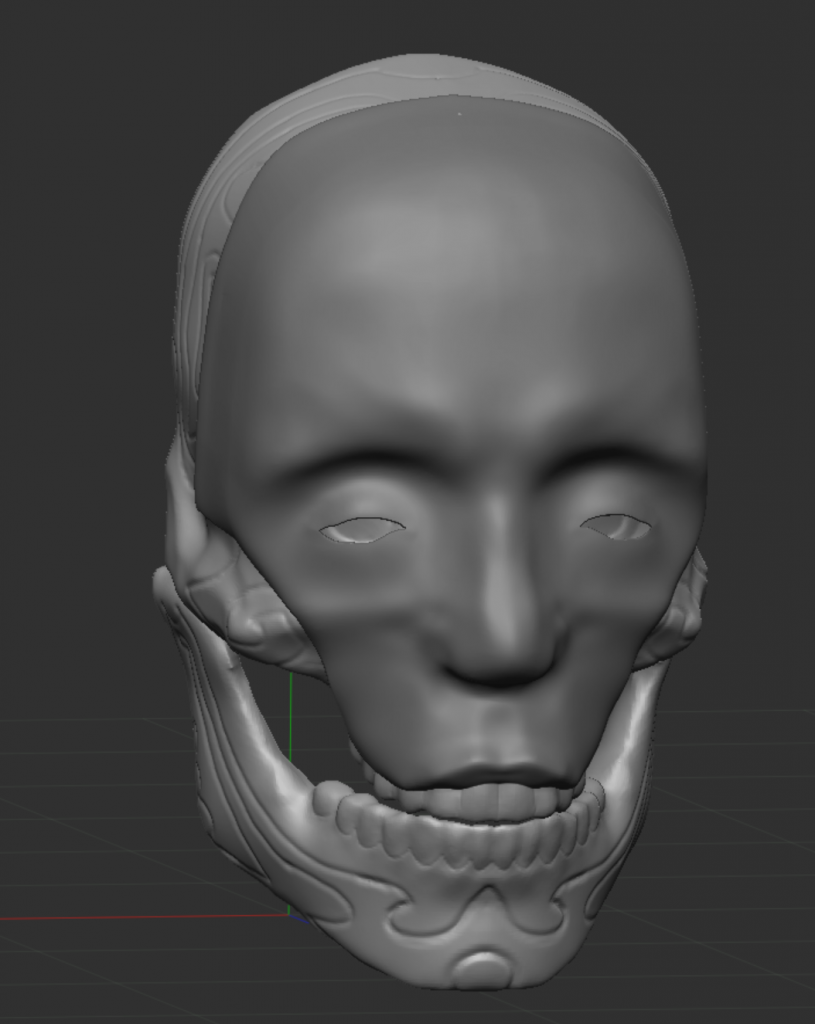
I went back to ZBrush to see how I could develop this project into something more original, I made a new Pinterest board and then select a few particular masks I liked to reference as I continued to develop.

I started Extracting sections from the foundation and added these troll like teeth inspired by Japanese Oni Masks, I found myself leaning towards a Japanese/Samurai/Cyberpunk sort of aesthetic.
This is where I ended up with it, for a short 3 day project and having a bump in the road with the original artist I am happy with how it turned out, I will continue to develop and texture this after FMP.
Leave a Reply