This week I wanted to focus heavily on Substance Designer as this was one of our areas from growth and improvement. I did some research and acquired some videos to try out and utilise for our vertical slice.
I started with this video for stone tiles by
hbitproject (2022). Stone tiles – Substance Designer tutorial for beginners. [online] YouTube. Available at: https://www.youtube.com/watch?v=hZK2MHC2mQw [Accessed 29 Oct. 2024].
Height/Normal Maps
I start by creating the tile shape using Edge Detect to create an edge, Bevel to bevel it slightly and Gradient Linear 1 to add a 90 degree gradient.
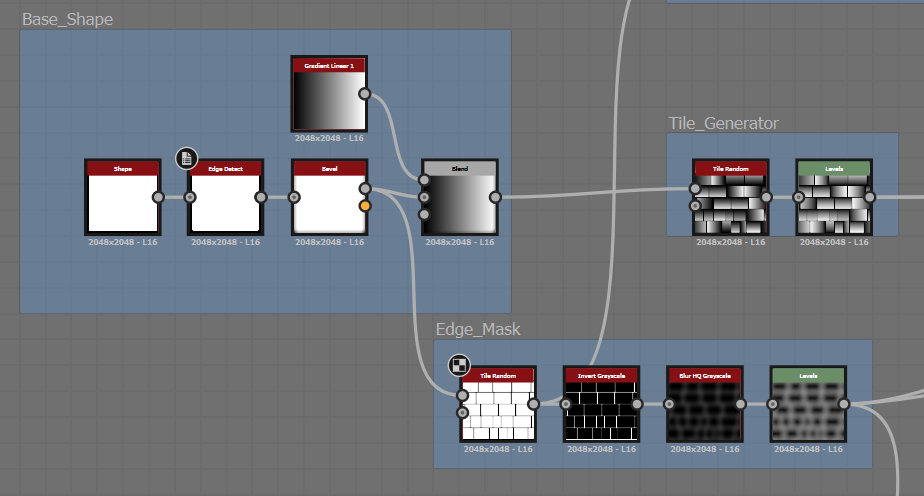
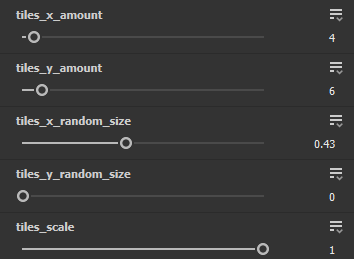
From there I make the Tile_Generator here I can control the Size, Scale and Amount of tiles. I achieve this by making custom named parameters which make it easier to keep track of what affects each element as you can see below.
The Edge_Mask allows me to get my Tiles (needed for FloodFill which will allow me to create varying plateaus on the tiles themselves later) as well as the grout lines which I will use to create chipping along the edge of the tiles.

Edge_Chip_Macro allows me to add and change different bigger chips along the edges of my tiles/the grout whereas the Edge_Chip_Micro allows me to add and change smaller chips. The General_Lighting (Levels Node) works as more of height displacement controller which allows me to decide how flat/deep the tiles are.
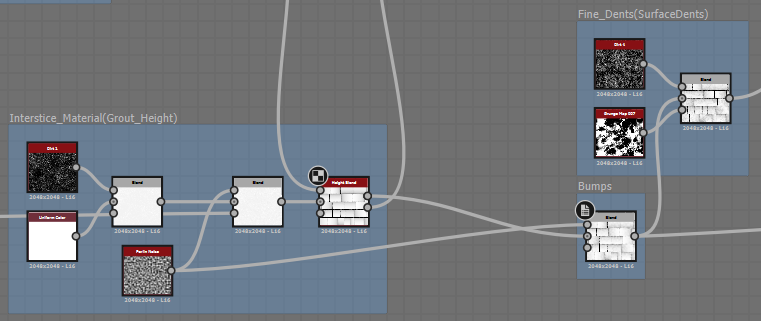
Interstice_Material creates some noise and texture in the grout lines as well as some bumps along the tiles which is controlled by the opacity on the blend node labelled Bumps.

Here is the Flood_Fill and Plateaus I mentioned earlier which controls the plateaus you see on the tiles which creates some nice texture variation on the tiles.
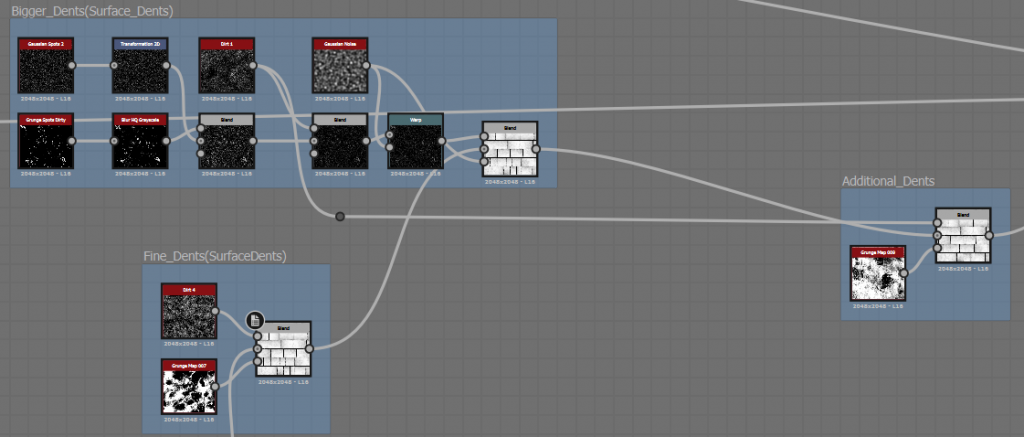
Fine_Dents and Bigger_Dents controls the different dents on top of the tiles based on the Grunge Maps as an alpha. These two blend together into the Additional_Dents which again uses a Grunge Map as an Alpha and is controlled with Final_Blend.
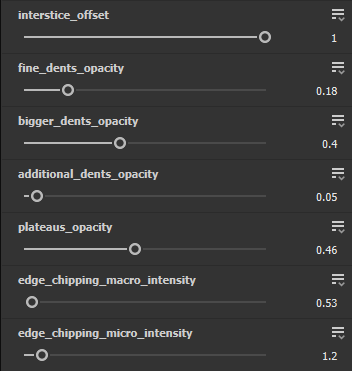
Here you can see the other parameters I made to help control these different elements these ones are Floats (number with decimal points) as opposed to Integers (Whole numbers) which was used for the tiles_x_amount and tiles_y_amount.
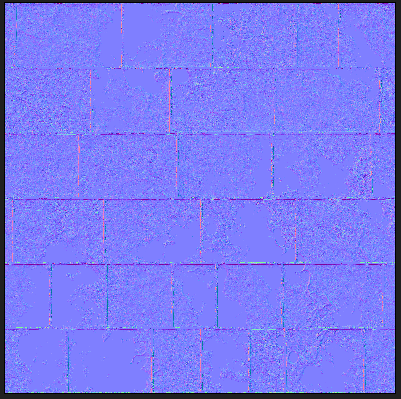
Here you can see the Normal Map outcome.
Roughness Map
The roughness map was pretty quick to make taking an Inverted version of the Plateaus blending it with a dark grey and plugging that into another with a lighter grey and the tile height blend.
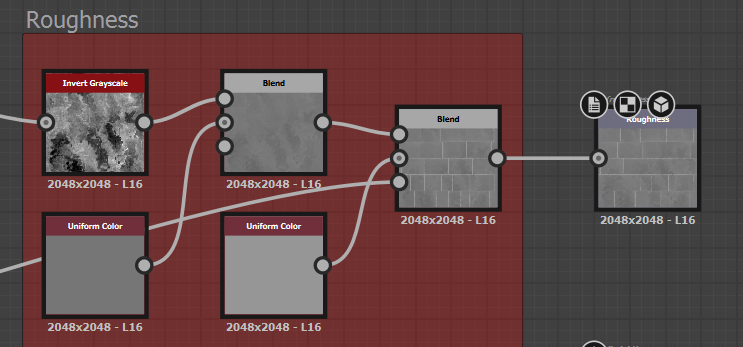
The darker grey is my tile_roughness, the blend node that connects that and the invert greyscale is my plateaus_roughness and the lighter grey is my interstice_roughness.
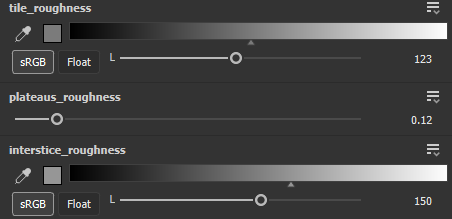
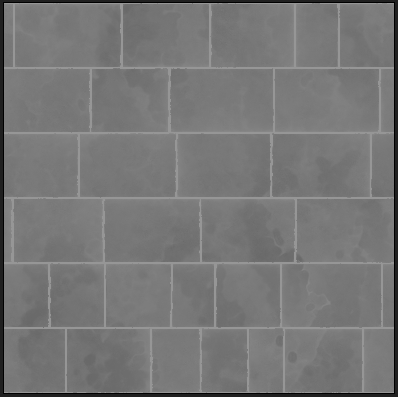
Here you can see the Roughness Map outcome.
Albedo Map
I start with a Fractal Sum Base and some Gradient Maps one slightly darker than the other and blend these. I use the following reference image to acquire the Gradients for my Maps.
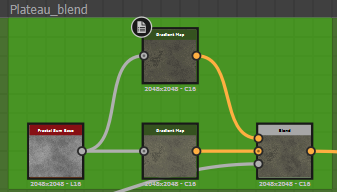
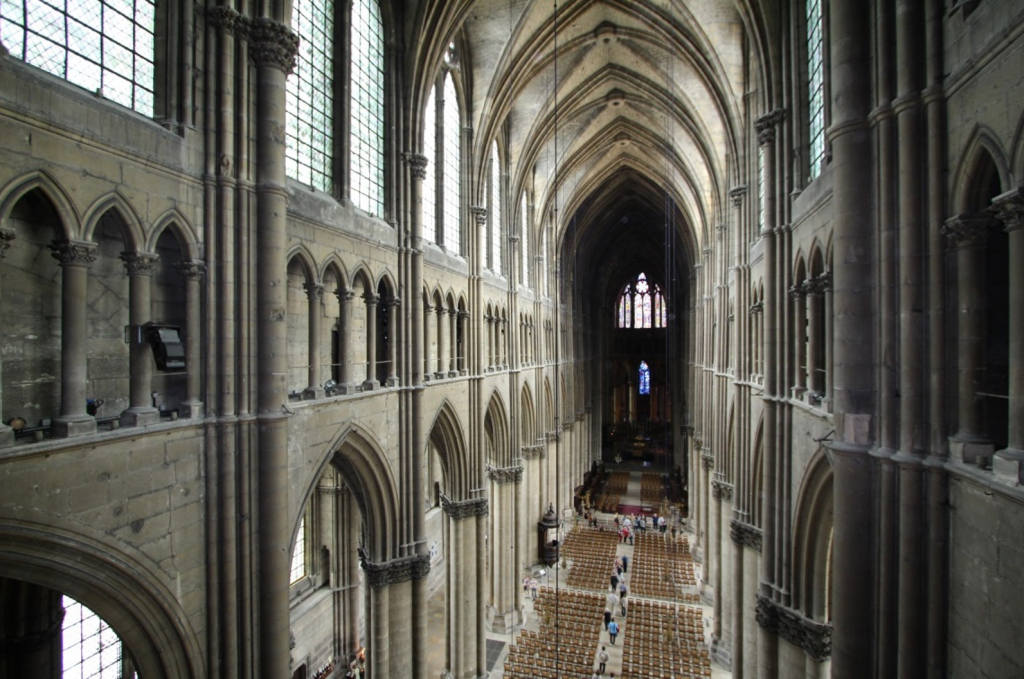
I then create masks from my Bigger_Dents and Additional Dents and blend them with Uniform Colour which I grab from the Gradient Map with an eyedropper this goes through a HSL so i can easily change these properties with a parameter later.
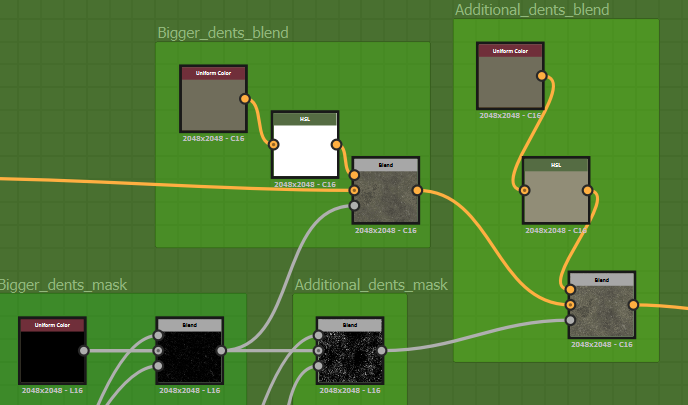
I repeat this process again with my Chipping_mask and Interstice for the chipping mask I take the Levels and the Macro and Micro for each with Subtract Blending Mode and Blend these. For Interstice I take a Fractal Sum through a gradient map based on the Gradients from previous Gradient_Maps run it through HSL for parameters and blend that with the Height Blend from the Interstice Material.
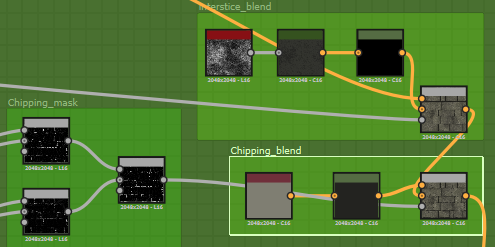
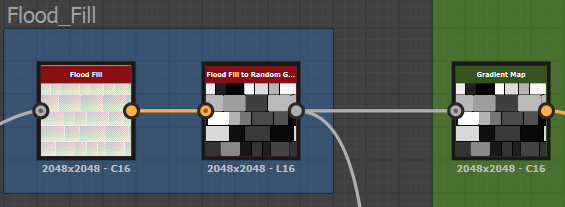
As I reach the end of my Albedo Map I use the Flood_Fill into a Gradient Map which I can then plug into my Final Blend as an Overlay Blending Mode this will allow me to have some colour variation across my tiles.
The Chipping_blend and Gradient Map seen above plug into this Final Blend node which runs through a HSL before the Base Colour giving me some control over the final outcome and opportunity for tweaking.
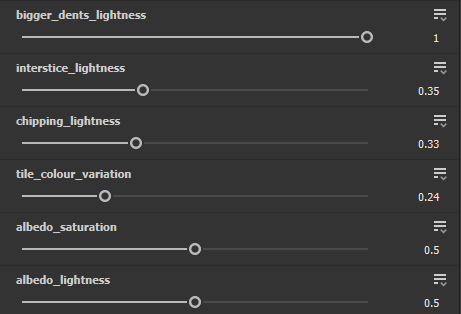
Here are the Parameters I have added for my Albedo
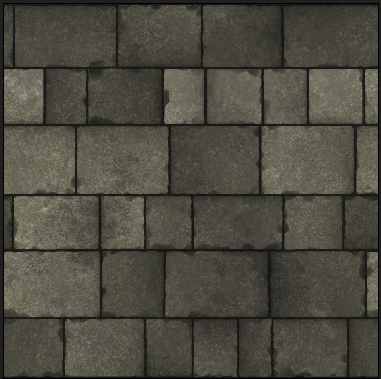
And here is my Base Colour Map
Now using all my Parameters I am able to make varying presets quite quickly for instance a more rough version or more glossy version as seen below.
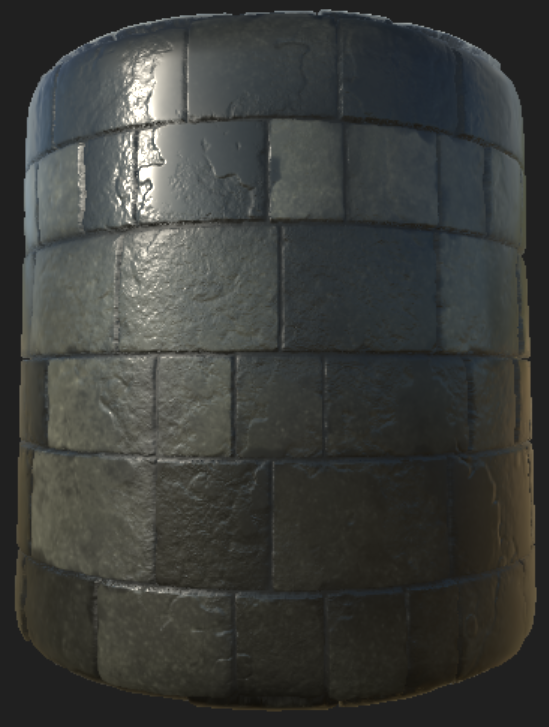
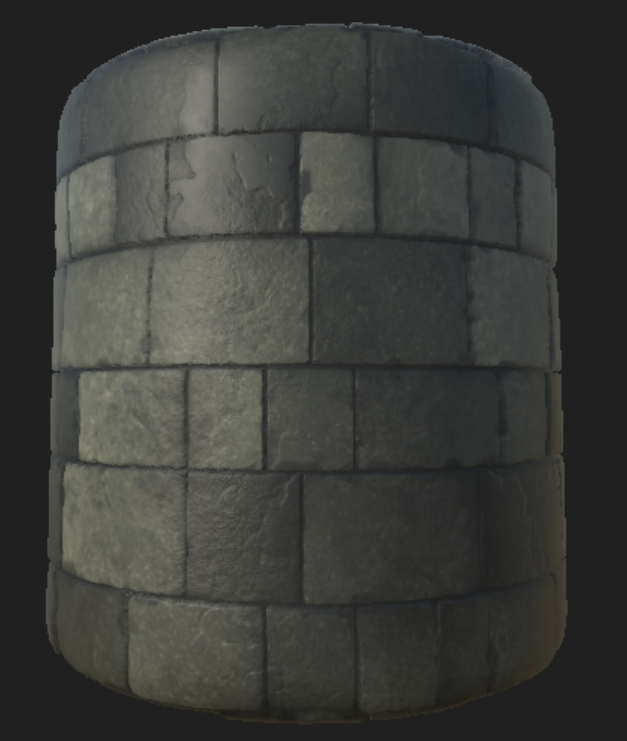
Here you can see all 4 texture maps

Grey Boxing
I decided I would try to get a rough compositional layout for the exterior first before I do proper grey boxing with the interiors which I can then just swap out for the asset kits at a later date.
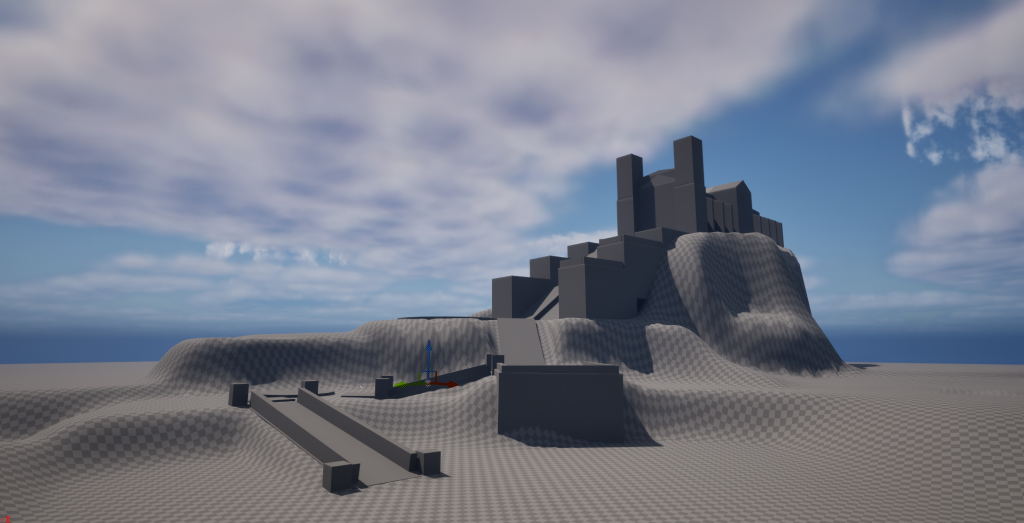
Although I was relatively happy with this composition I wanted to explore a lot more variations so I did some research and looked at some examples.
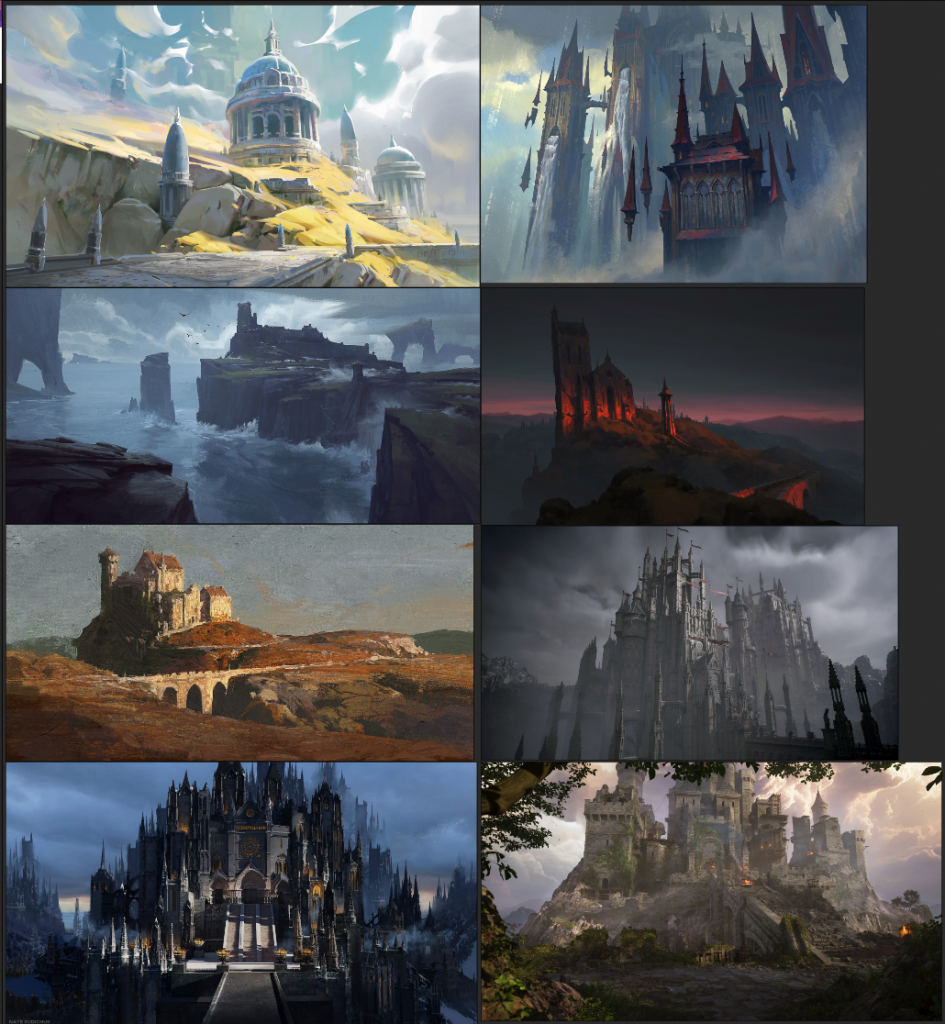
I tried to look at a variety of different works that had similar depictions to what we were going for I will break these down to establish what is successful about each.
I have gone into a breakdown of a few of these different compositions to establish what is successful, I broke things down by colour:
Yellow: Framing
Blue: Big, Medium, Small
Red: Leading lines
Green: Guides the viewers eyes
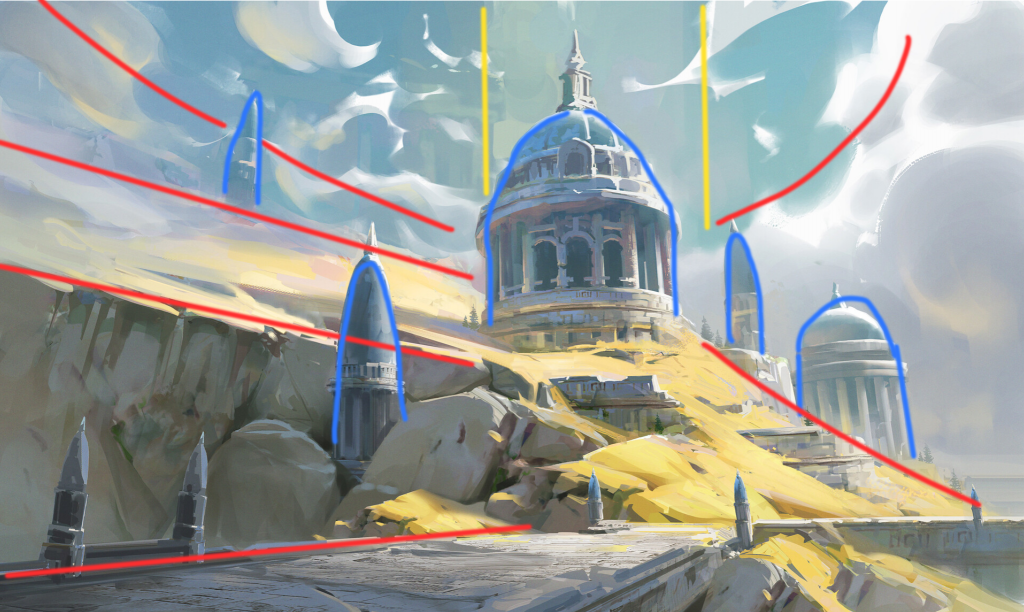
For this first concept some additional elements to consider is the low camera angle to evoke a sense of scale and grandeur, also the lighting really highlights the focal point.
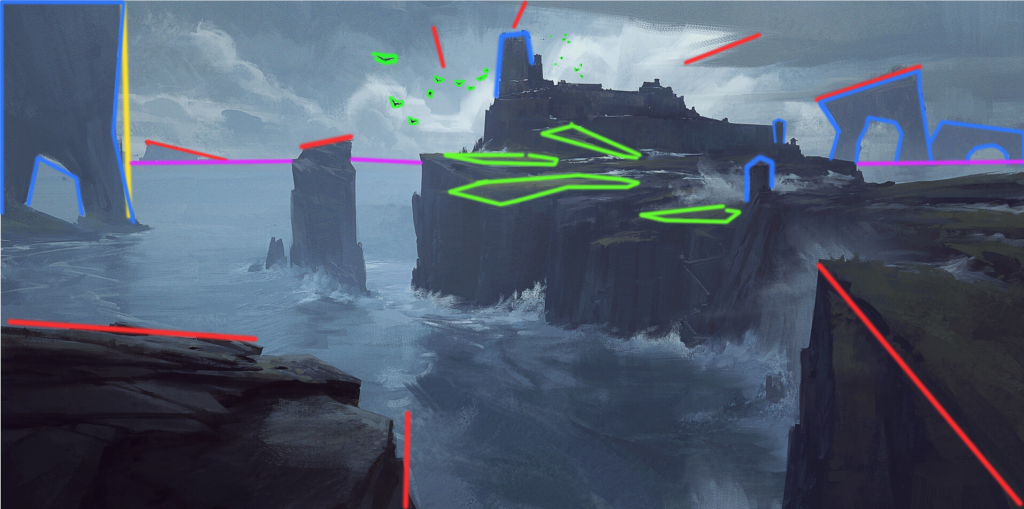
What I found particularly nice about this one is the birds leading the eye towards the focal point again the lighting in the scene is carefully placed over the focal point highlighting it from the darker outlying environment.
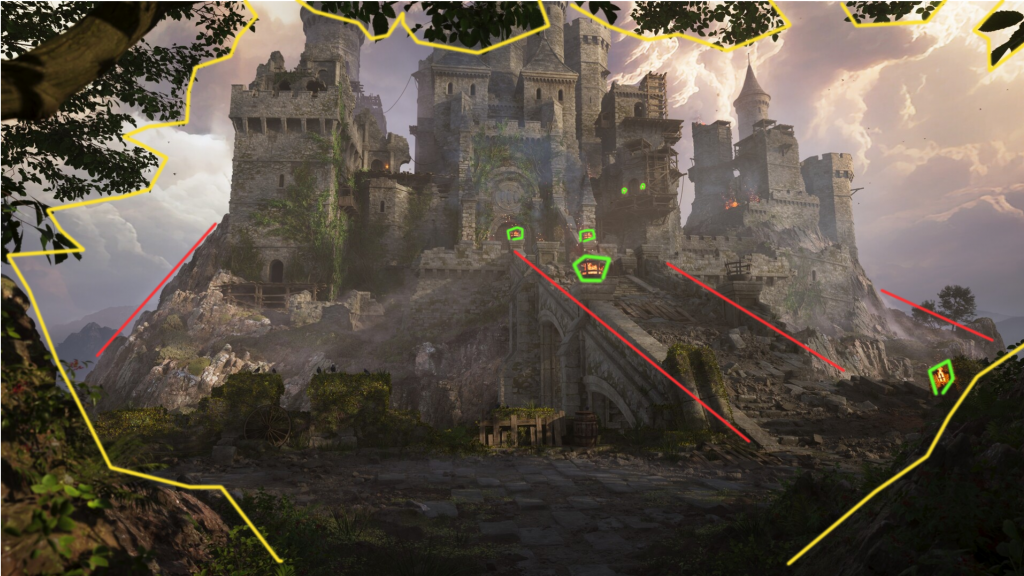
This one I feel is maybe excessive with it’s framing although it is effective again it’s using little fires to lead the eye up to the focal point but I find this one overall to be less effective than the other two.
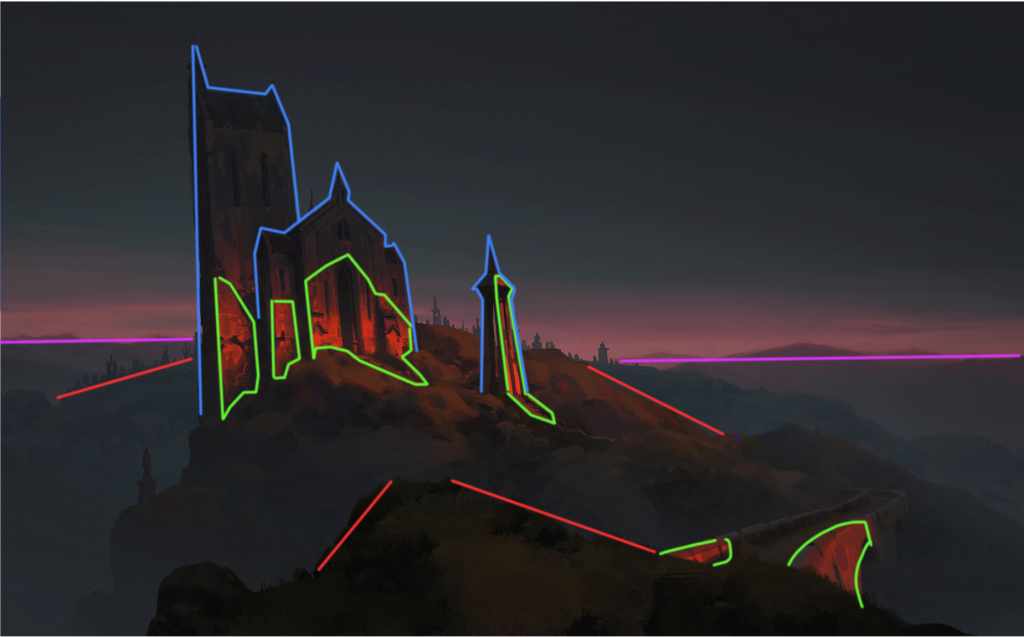
I really appreciate the lighting and use of it in this concept it helps guides the viewers eyes from the foreground to the focal point also the red warmth of the sunset/sunrise lighting.
Taking into consideration of the successful elements of these concepts I will now put that thought into my own compositional set up.
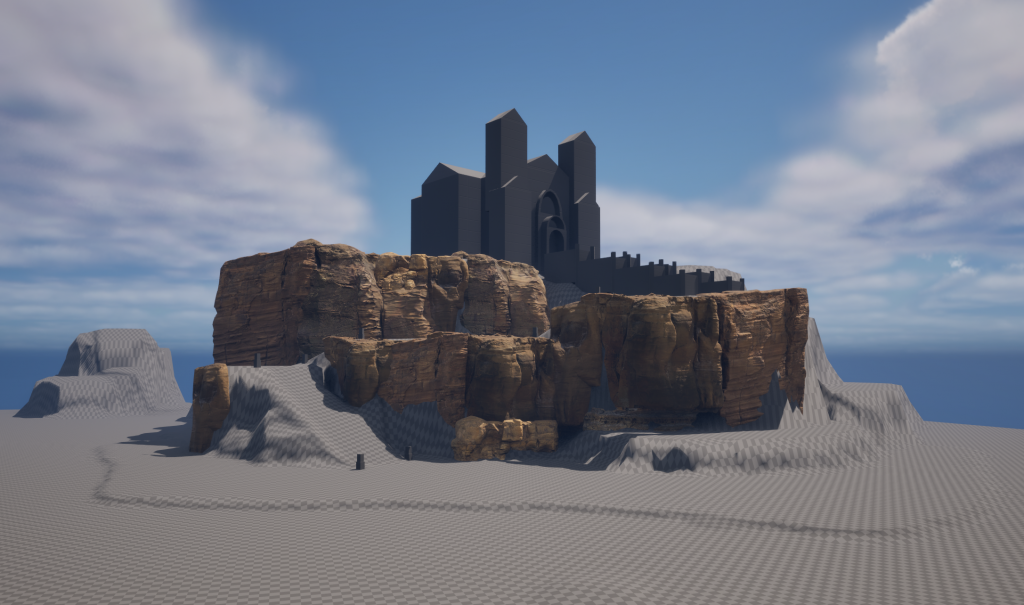
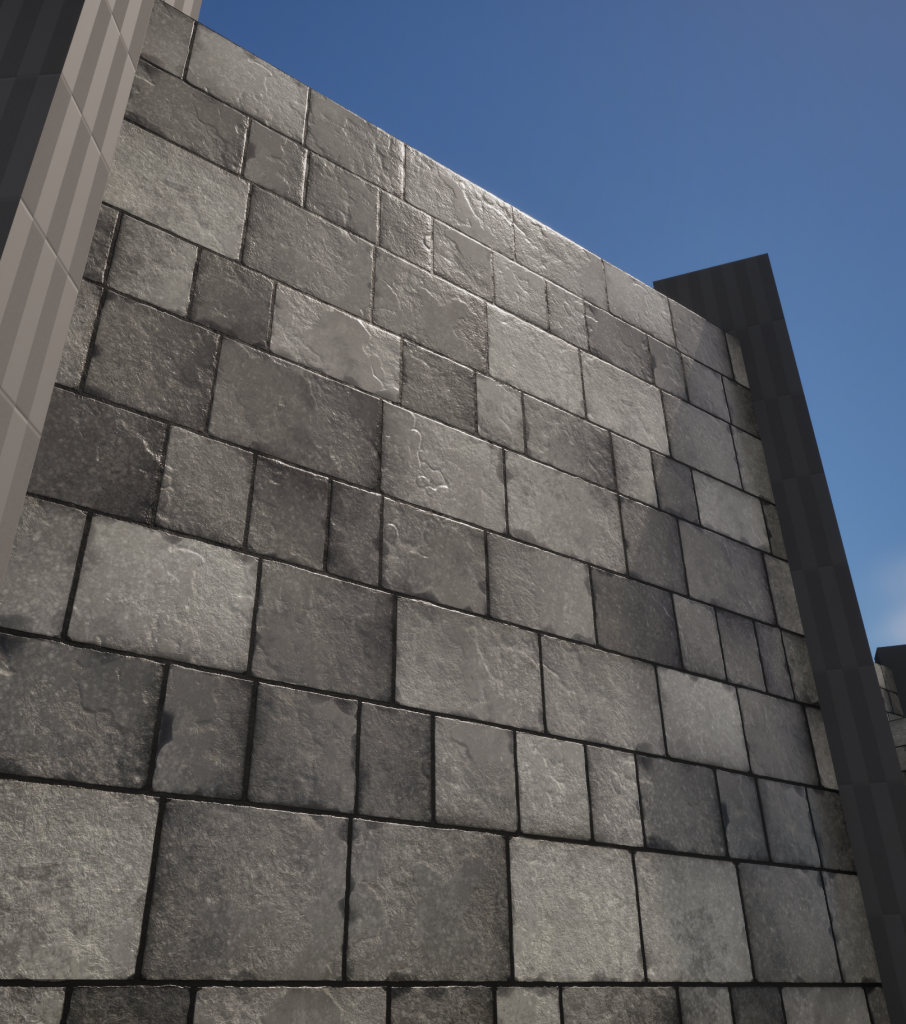
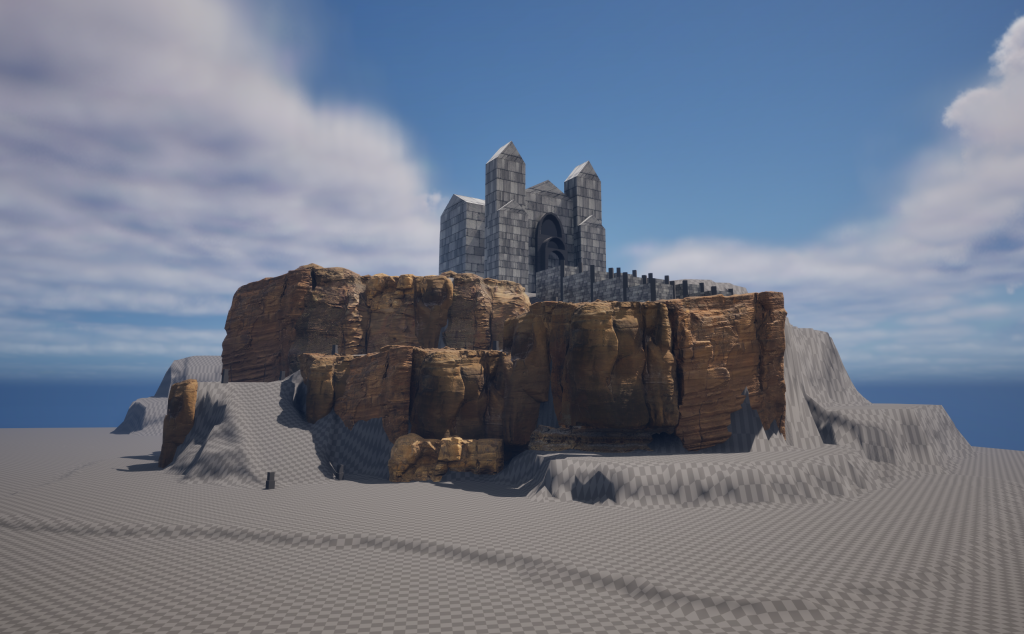
These are obviously very early depictions of compositional set up and will require some foliage and sea to really help tie it together which I may do with a quick paint over.
Unreal Engine Scene Lighting Workshop – With Elliot McSherry
We had a really useful tutorial from Elliott the other day on scene lighting in Unreal. He taught us about all the essentials like HDRIs, height fog, post-process volumes, and how to se these up to replicate realistic lighting for scenes. It was an eye opening tutorial and made it clear how valuable good lighting is to a scene, it’s something I look forward to developing further as an artist and will prove insanely useful on this upcoming project.
Here is some of the outcomes of this session:
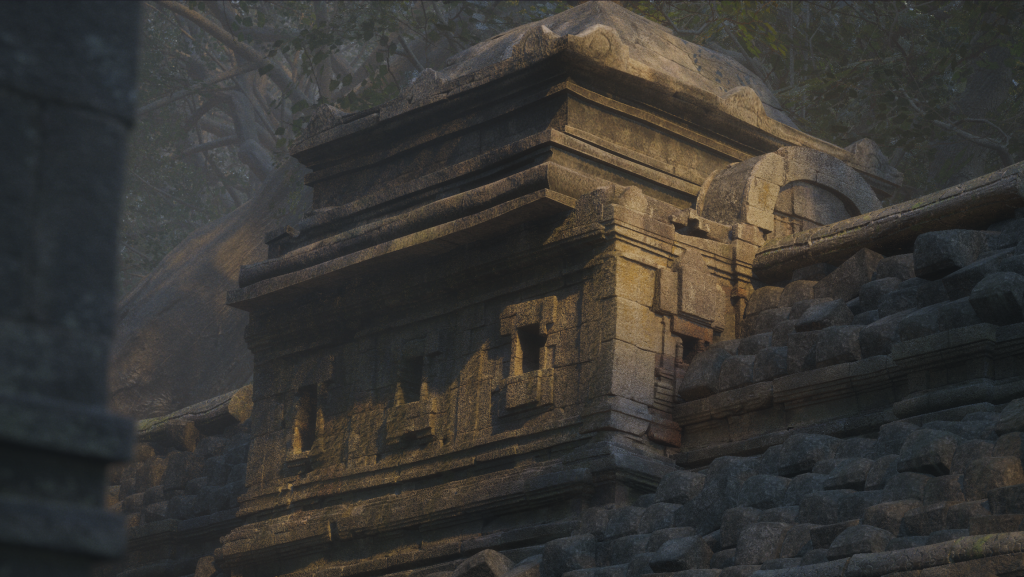
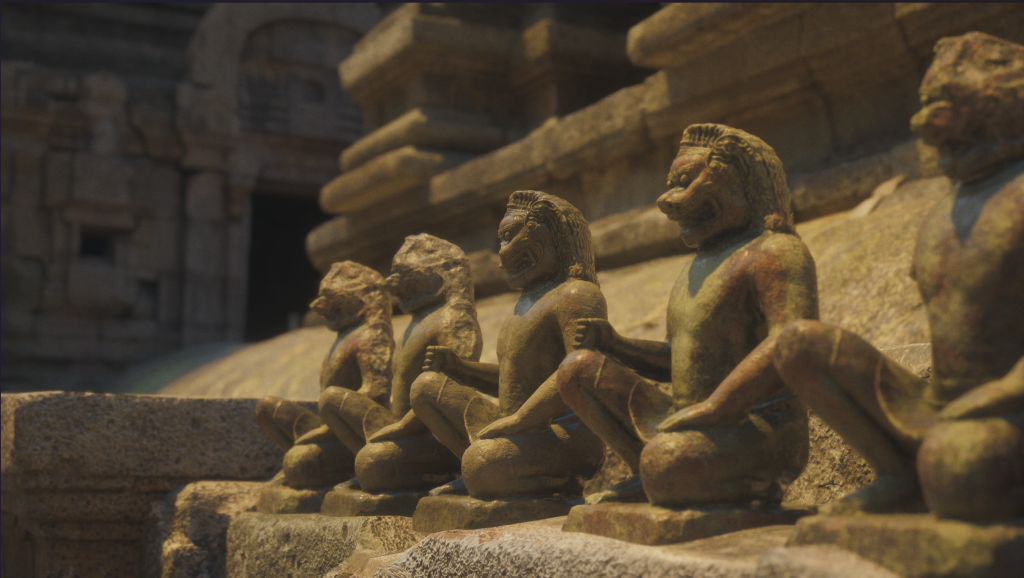
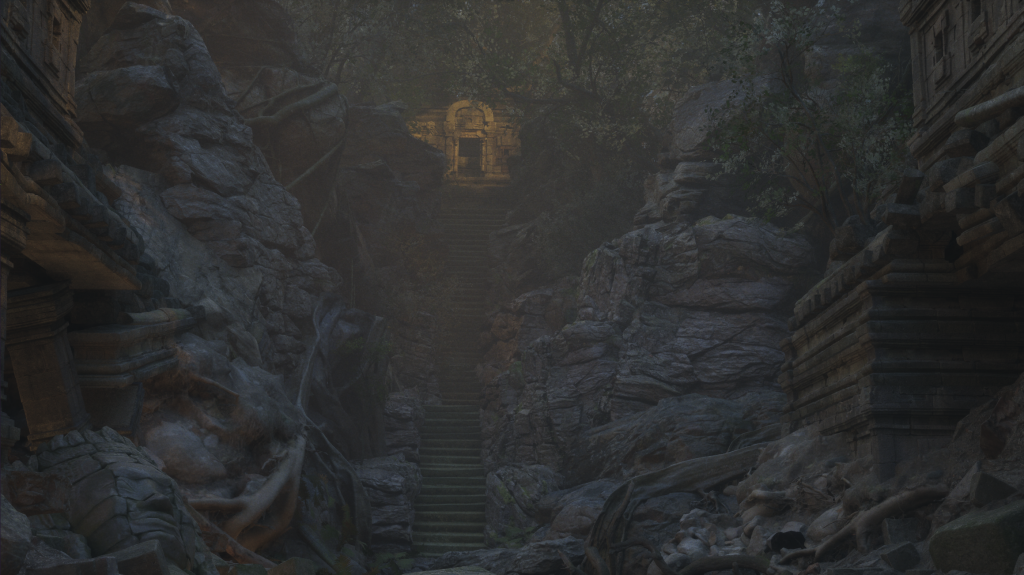
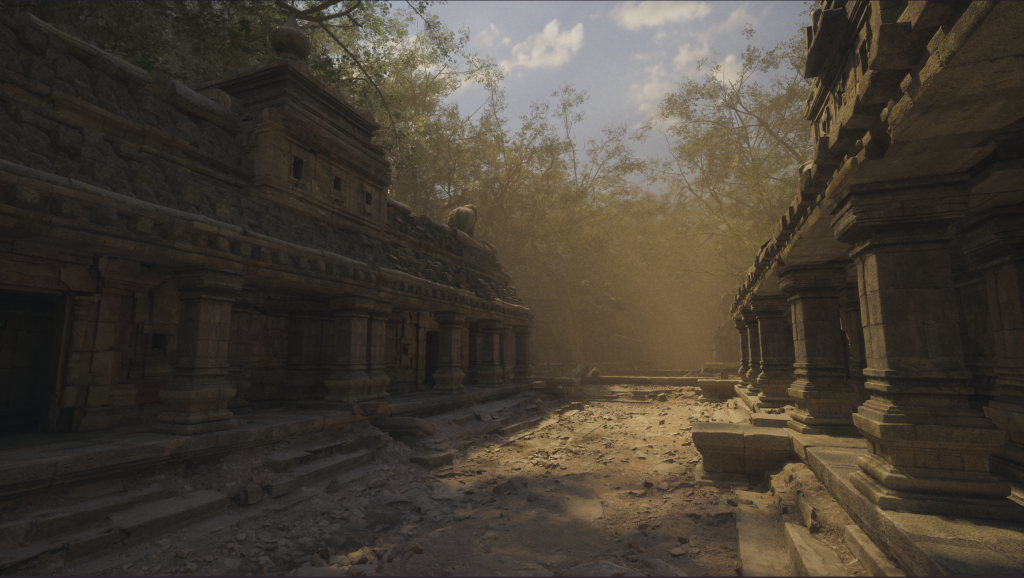
I initially did those 4 exterior daytime scenes above during the tutorial but had a really good time with it and wanted to do more so I decided to open the interior level and try to get some good shots of those with a night time scene. Here I could focus on much more moody lighting that would be good for the theme and vibe of this FMP I am working on.
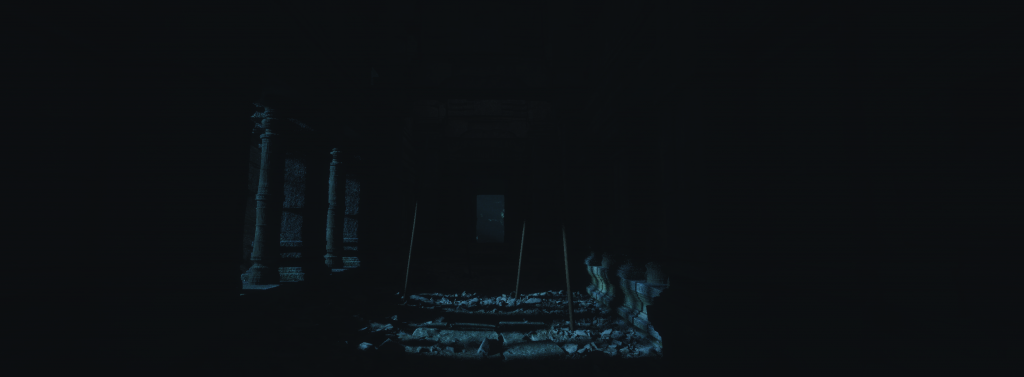
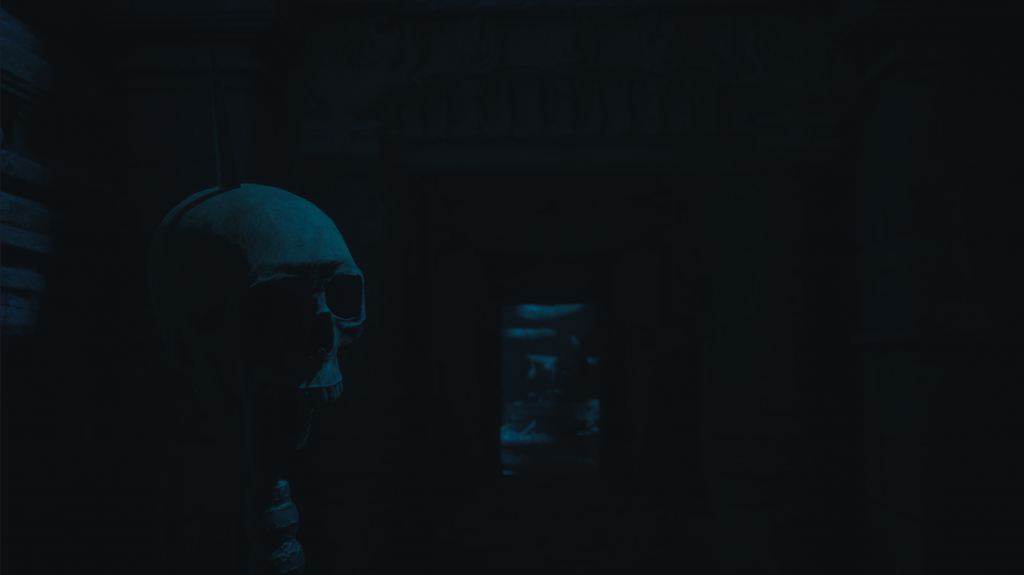
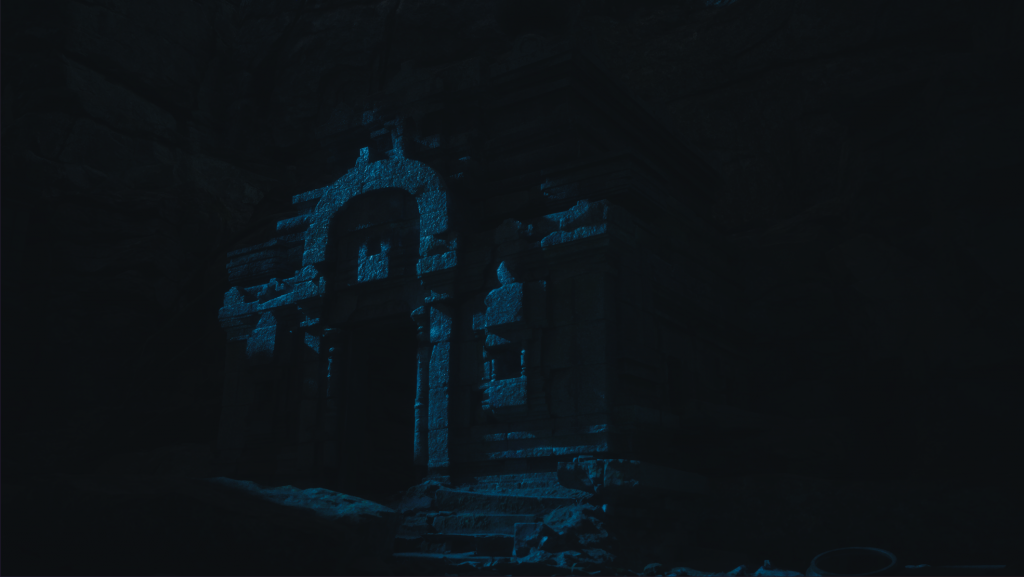
I am really happy with the turn out of these and think it will really improve the overall project immensely.
Leave a Reply