Censer Research:
Following the scene lighting with Elliott I started to think about other atmospheric elements that could push the scenes ambience further I started looking into censers and thuribles (a type of censer) which are incense burners often used in cathedrals.
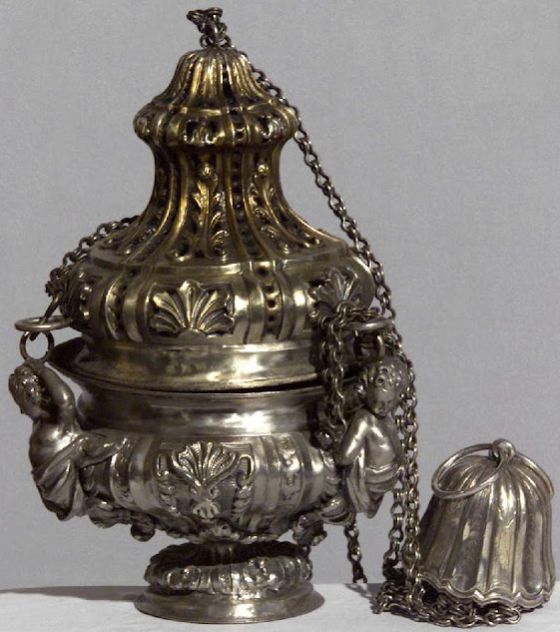
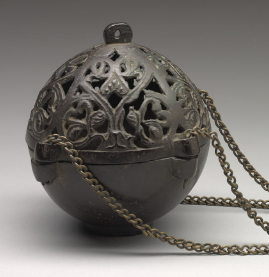
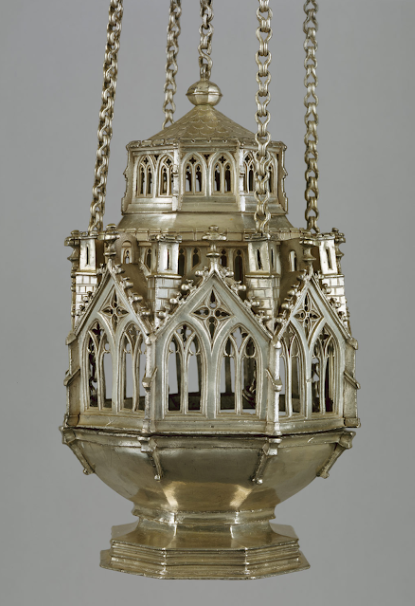
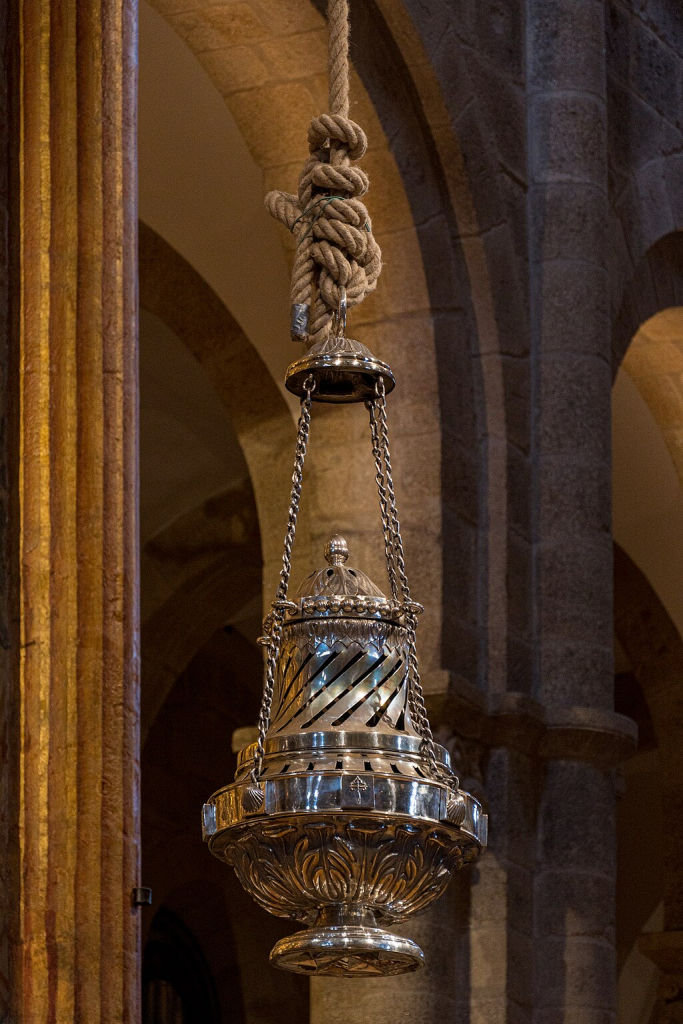
There is a particularly famous censer called Botafumeiro which is from Santiago de Compostela Cathedral, in Spain. Its name comes from the Galician language, where botar means “to eject, to throw away, to expel”, and the Latin fume, meaning “smoke”.
I wanted to also look at some different concepts with more of a sci-fi aesthetic for censers too just to broaden the visual language before I went on to modelling. Here is an example with the character Harrow from Warframe who carries around a censer:

Here are some 3D models of different interpretations of censer:

Lastly is this Corrupted Bishop concept art by Valerio Fancelli:
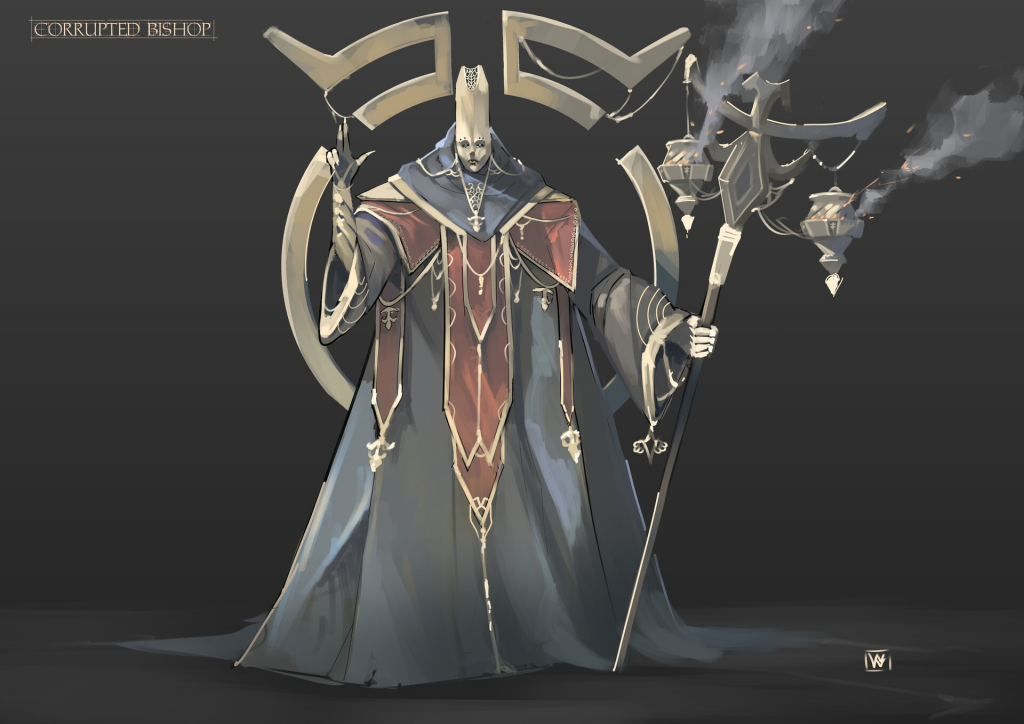
Here we have a nice close up of the Censer design I really like the shapes used here they have a sleek and readable design.
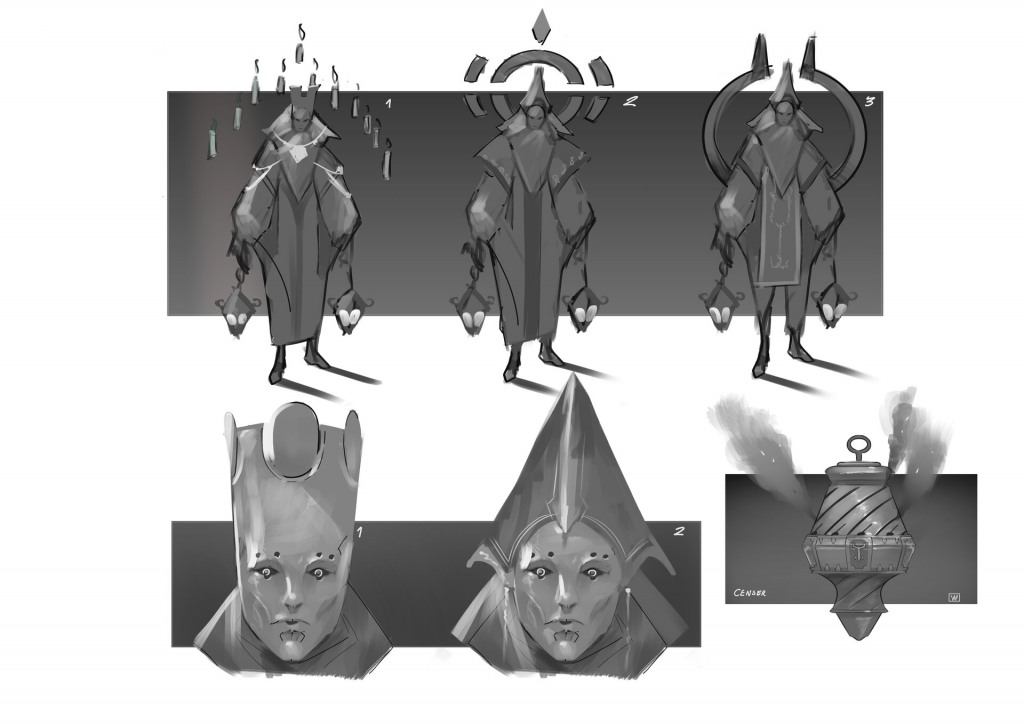
We had an idea of having one big censer that a bunch of smaller ones are wired up to loosely inspired by this shot from the Astartes fan film.

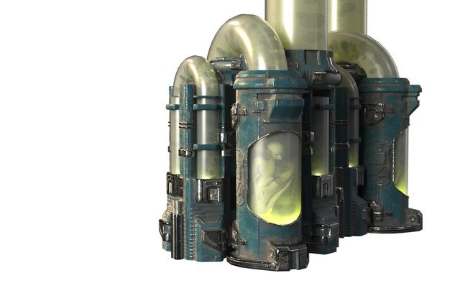
Test tube / Incubator Inspiration:
I also had a moment of inspiration from the new Pokémon TCG Pocket game today. A particular Mewtwo EX card had an animation showing Mewtwo escaping from a test tube/incubator, and it made me think this could be a really cool way of incorporating more sci-fi elements and wires into our scene, providing more opportunities for visual, implicit storytelling.
Below you can see some screenshots from the animation.

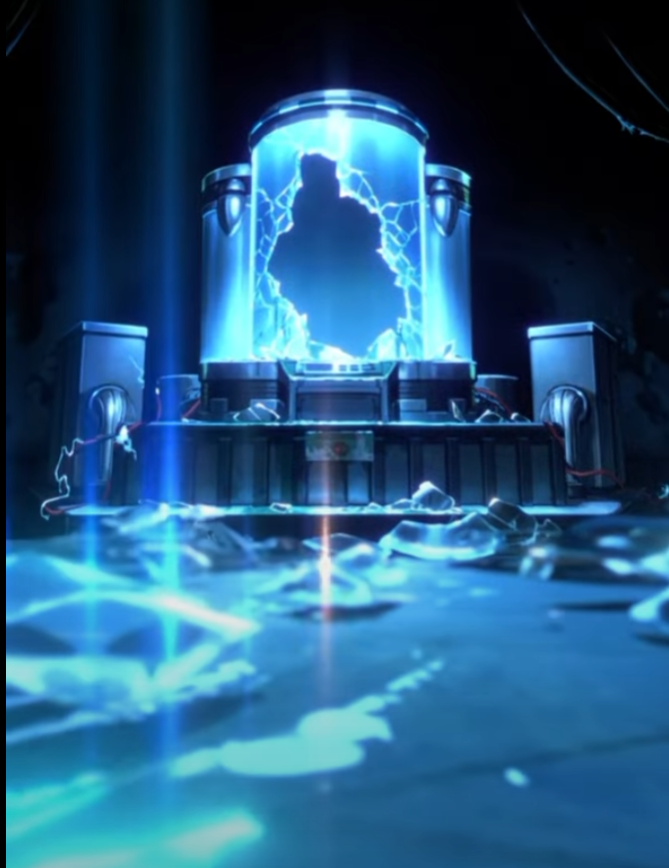
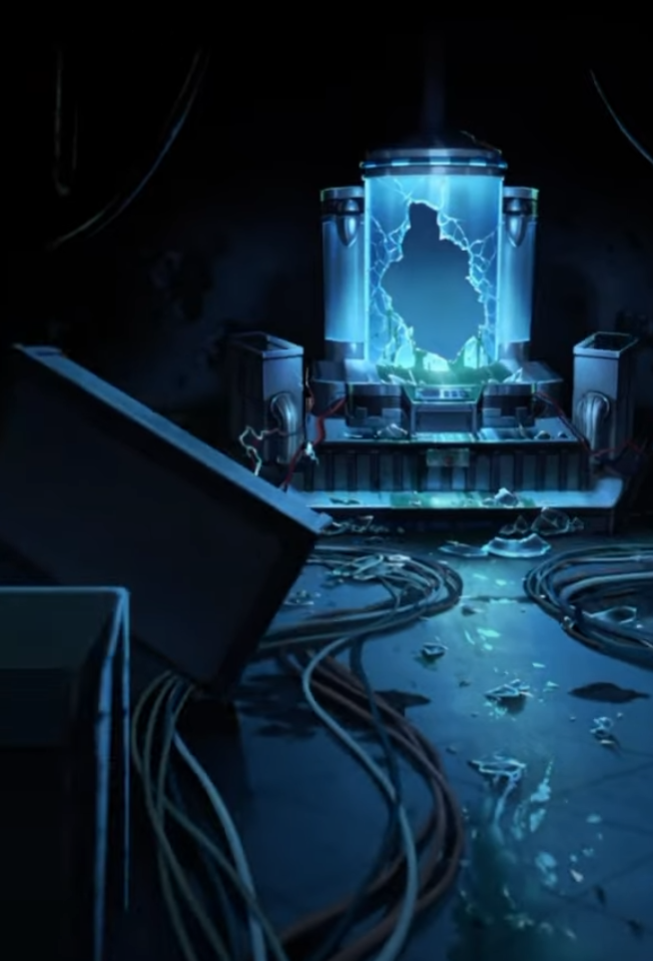
I spoke to Laura about this idea and thought we could contextualise it by making the monks try to clone/recreate the statue being in these incubators/test tubes.
Religious Iconography:
Using ChatGPT I asked it to create some religious sci-fi iconography for this religion which can be used throughout the scene on tapestries, projections, engravings and accents. Here are the initial outcomes over the first 3 prompts

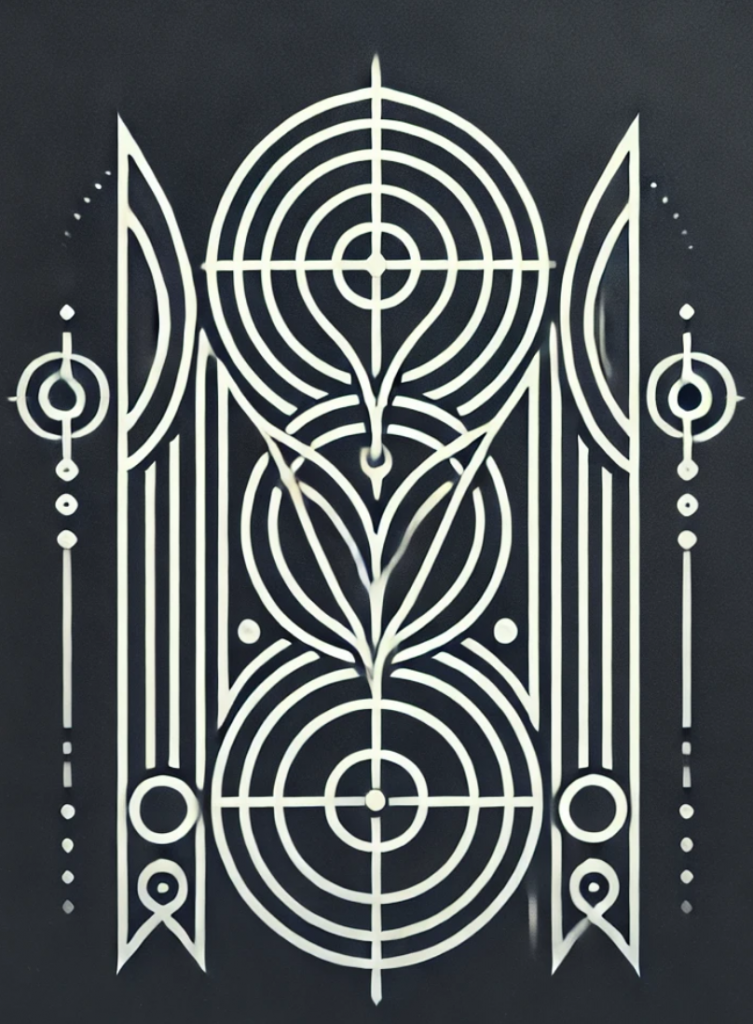
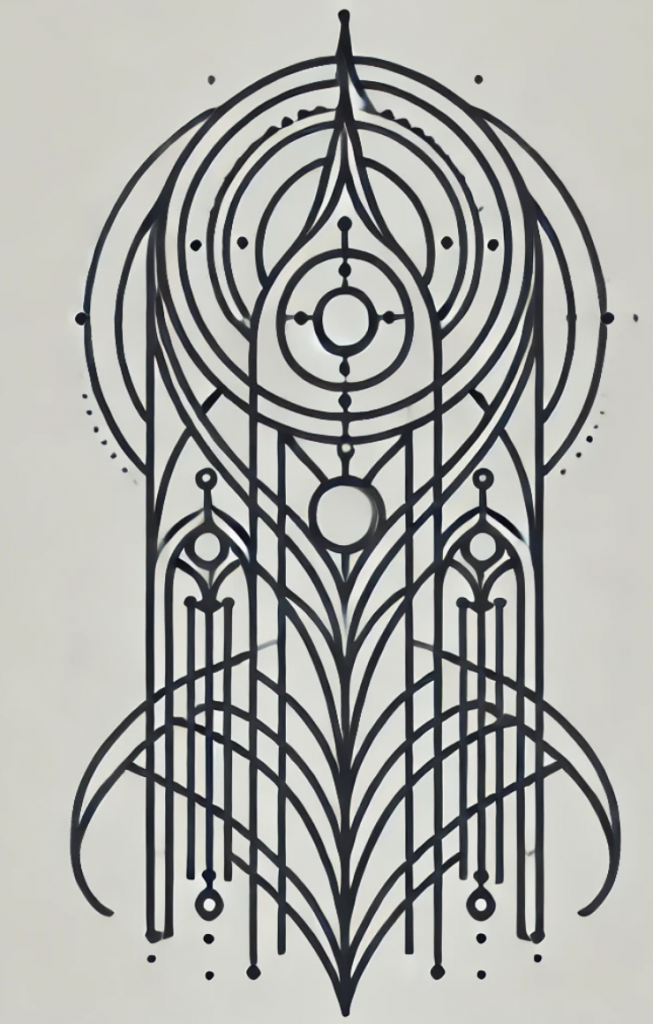
They were okay I preferred the first one’s design but liked the length of the second and third.
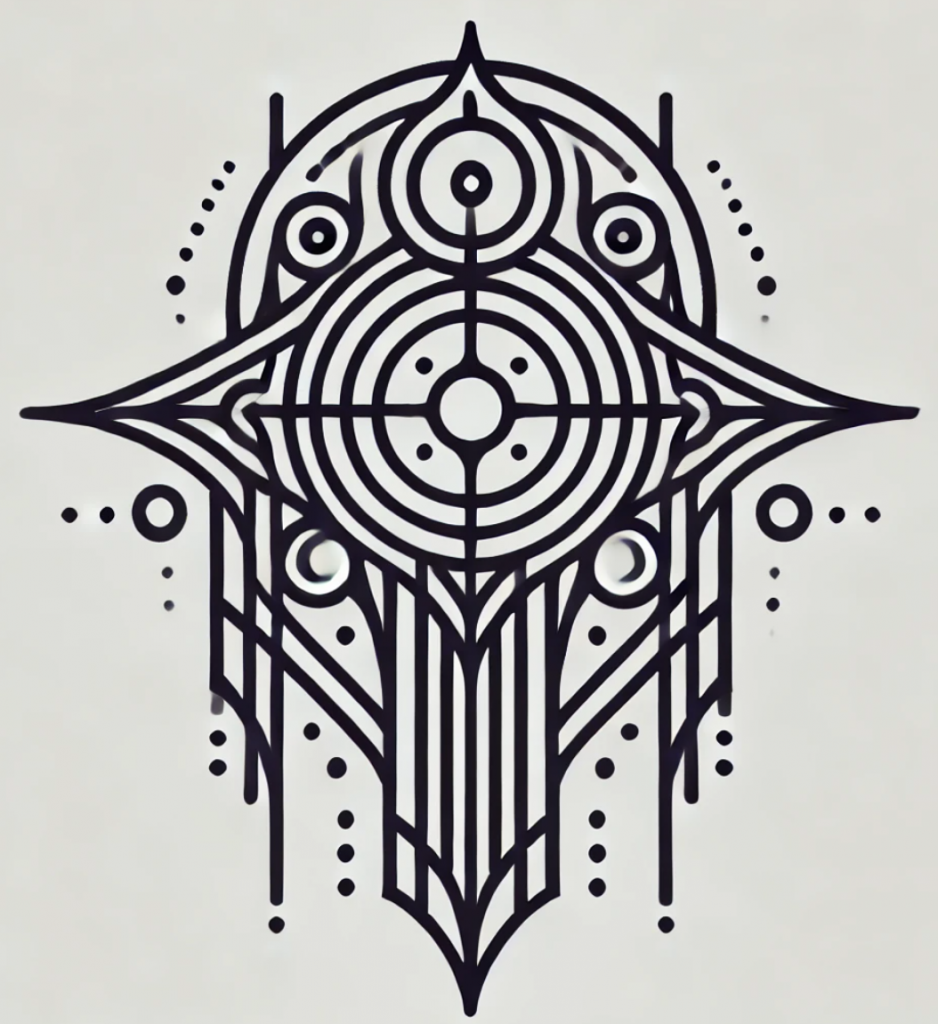
This was the last one produced which I was much happier with but wanted to simplify and iterate on so i took it into Photoshop:
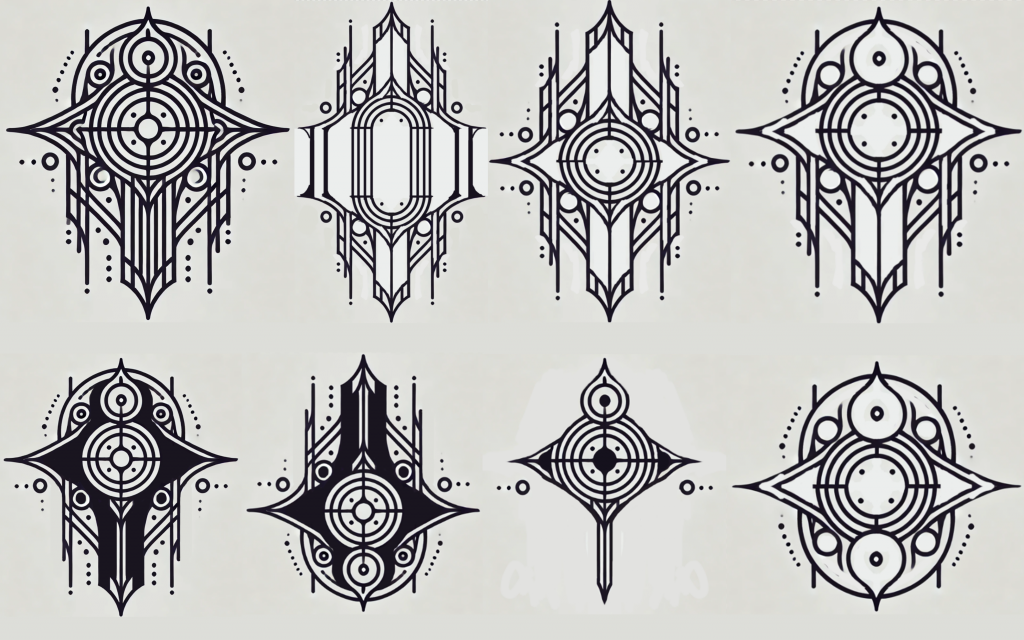
After speaking with Laura we concluded all of these had too much going on and we wanted something more simple and punchy. I did some more idea generation with ChatGPT as well as some research into different succesful sci-fi symbolism such as Warframe, Star Wars, Destiny, Warhammer.

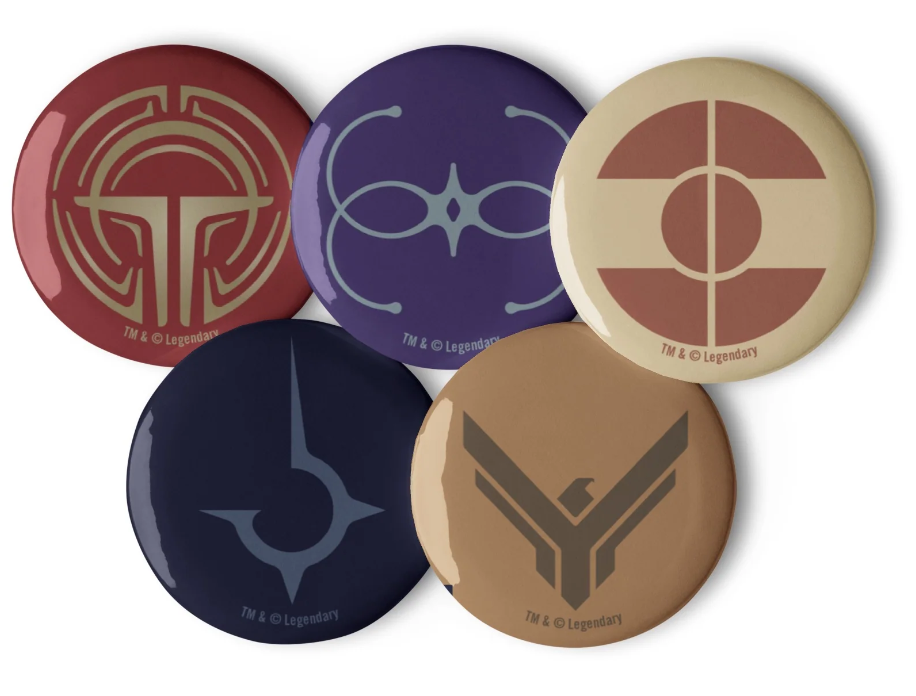
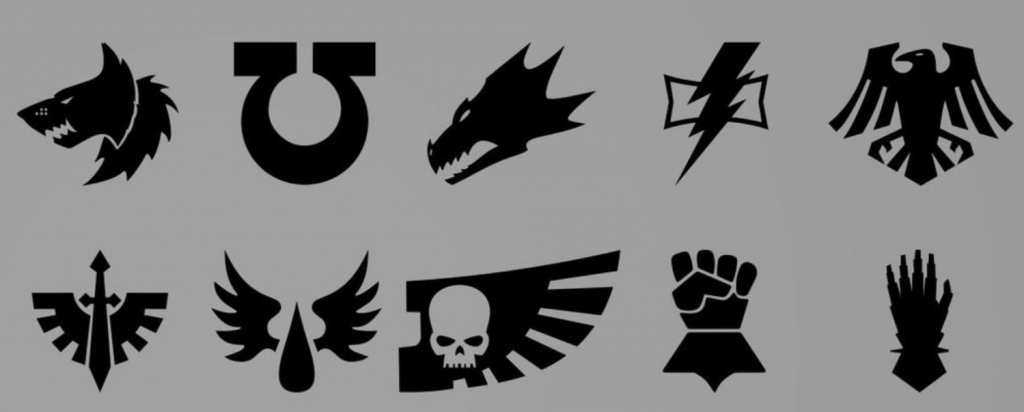
I had a few other prompts on ChatGPT asking it to utilise different symbols I found to be effective from my research and it produced this which I felt was effective but lacked a Gothic vibe and some cross-like shape language which communicates religion often.
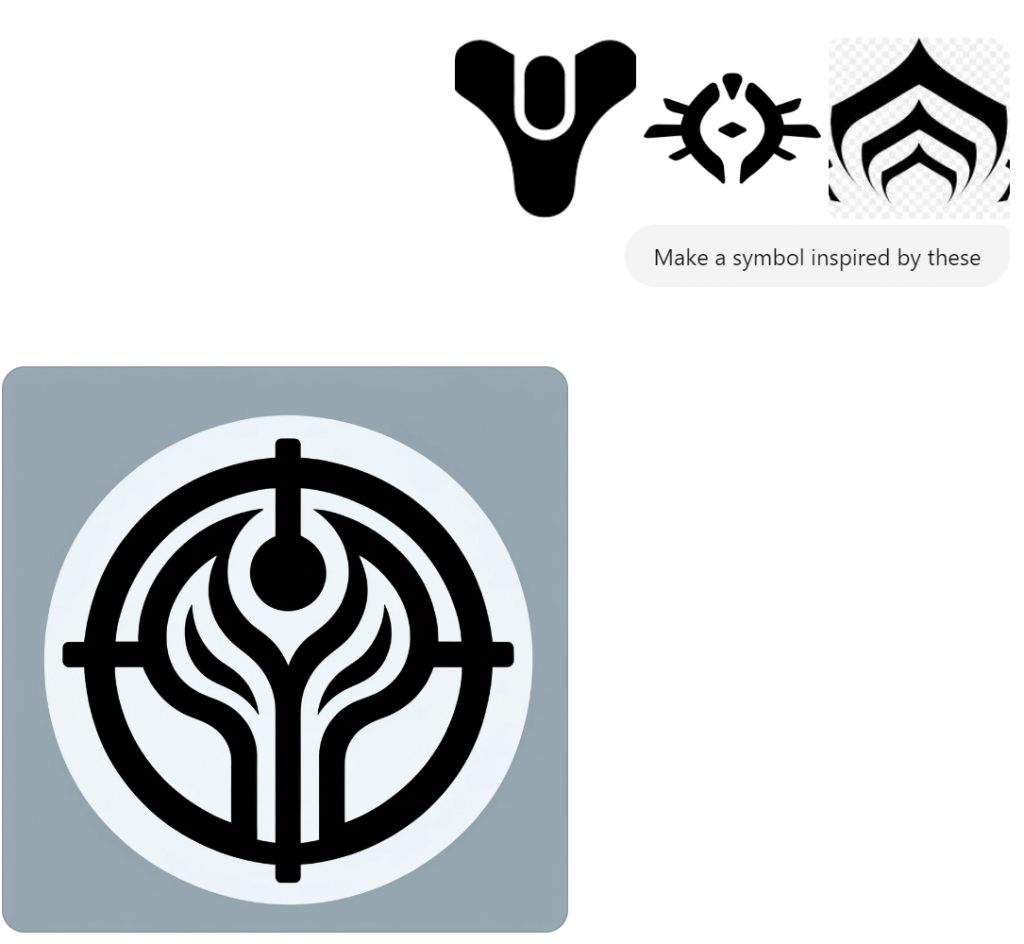
I took this into Photoshop and combined it with the Harkonnen logo from the Dune series which I felt had some Gothic and also Solar/Sun Holy shape language. This is what I ended up with which I think is unique and simple enough to be used in engraving, projection and modelling.


Cathedral Floor Plan and Modular Asset Planning:
We both looked at different structural plans for Cathedrals and got some varying references including Half-Section Views and Floor Plans
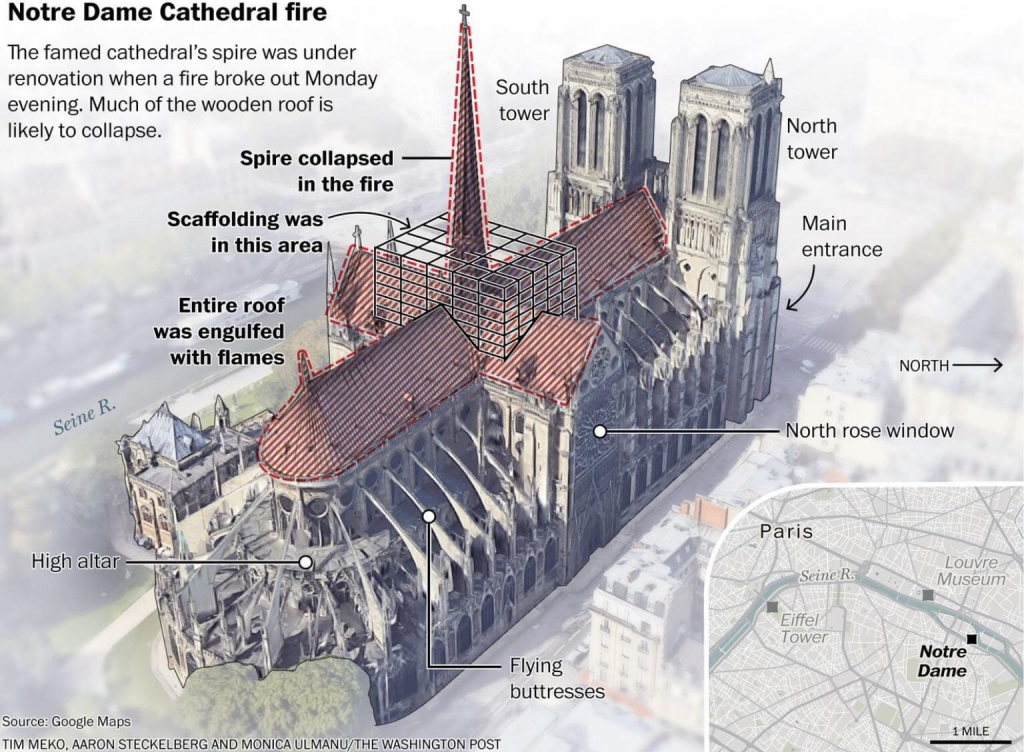
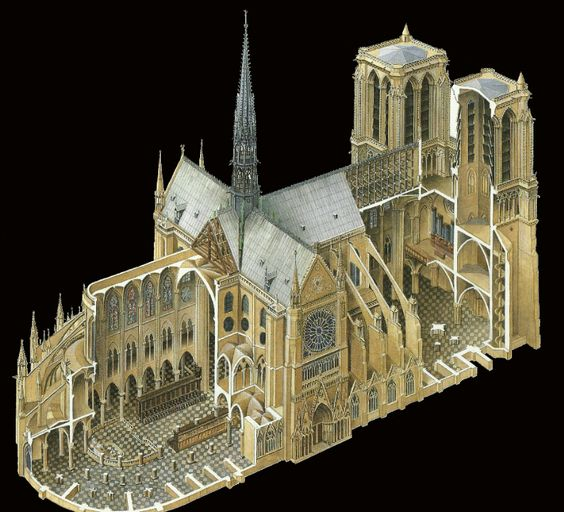
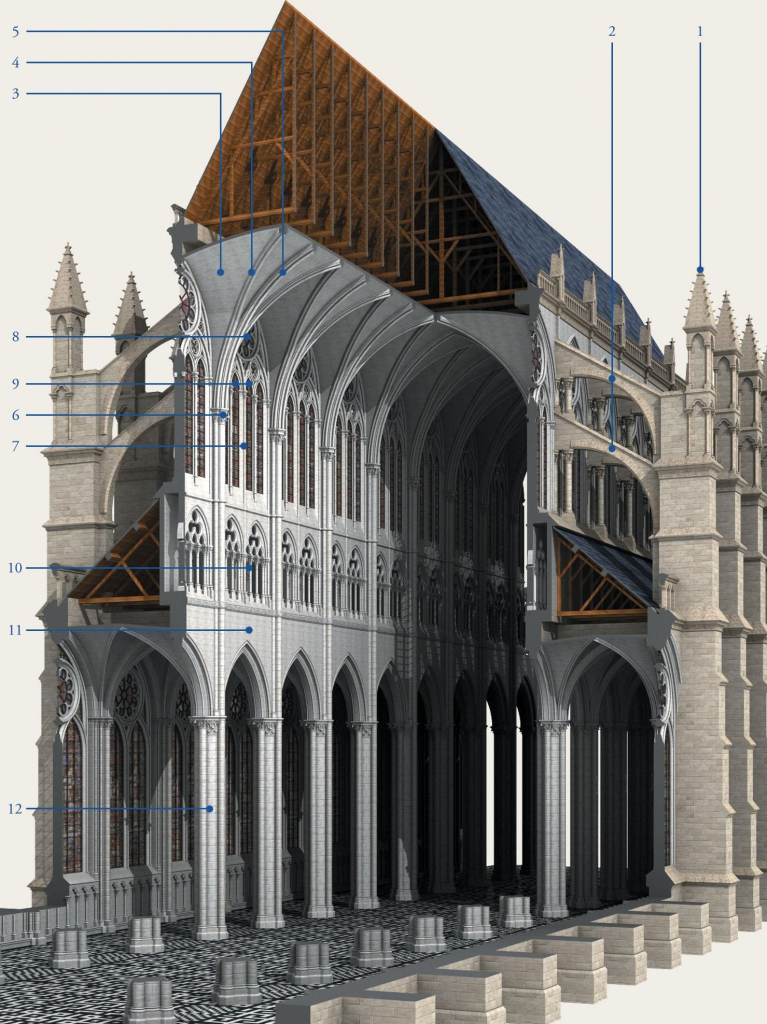
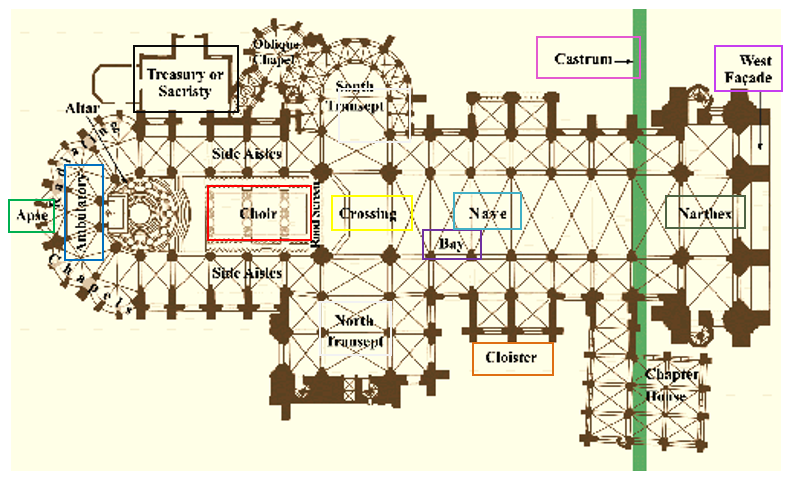
Laura did some in depth research into the different aspects that make up the Cathedral to better our understanding both structurally and aesthetically.
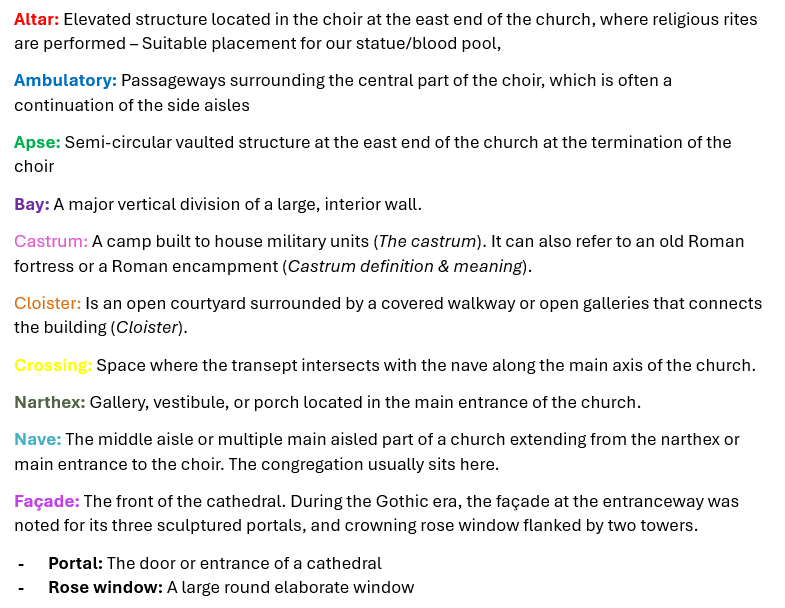
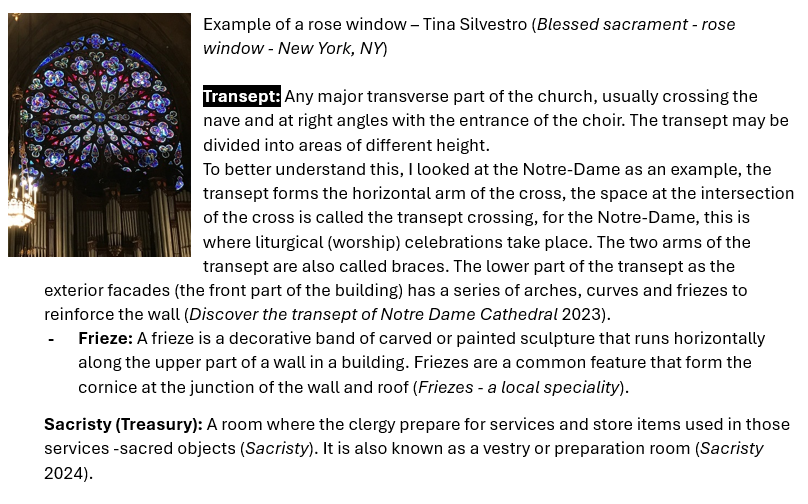
From this inspiration I decided to start on a floor plan for our Cathedral ensuring to consider scale and areas for modular assets. Here was my initial plan inspired by the floor plans we had researched but translated into a more visually digestible way for me and Laura.
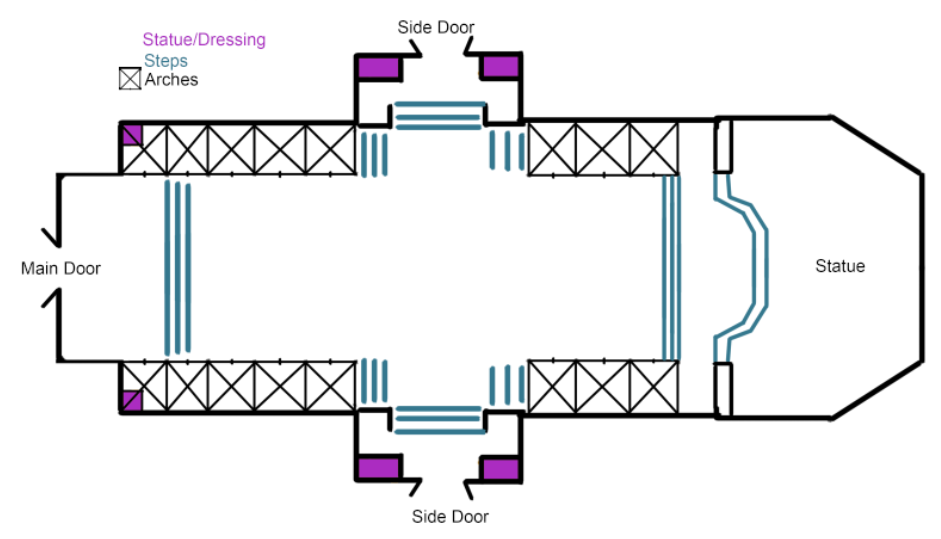
Here I have added on and highlighted key structural areas that can be made with reused modular assets to speed up our work flow.

CONSIDER OCTAGONAL SHAPE FOR STATUE SECTION
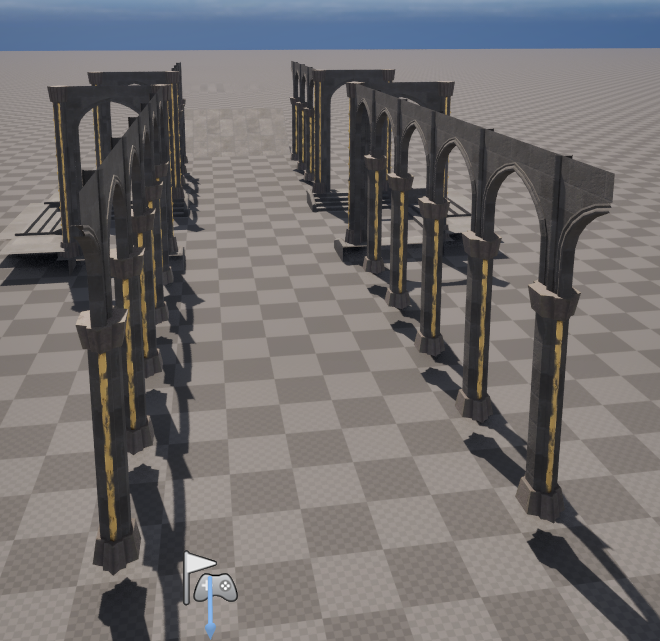
With this I decided to tackle some of these modular assets I started with the Side Arches and after discussion with Laura chose to make some new pillars with slight more dark gothic aesthetic with lots of sharp shape language inspired from Warhammer 40K.
First is the Side Arch used along the Arcade / Side Aisles (Parallel to the Nave) and second is the Corner / End Arch used at the end of the Side Arches.
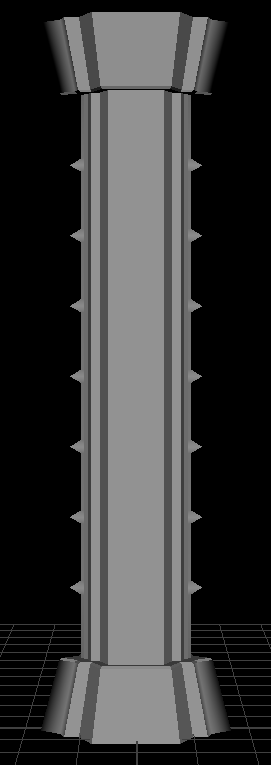


With the Pillar for the Side Arch all prepared I just needed my half arch walls to connect them and a piece to cover the seams of the the walls where they meet.
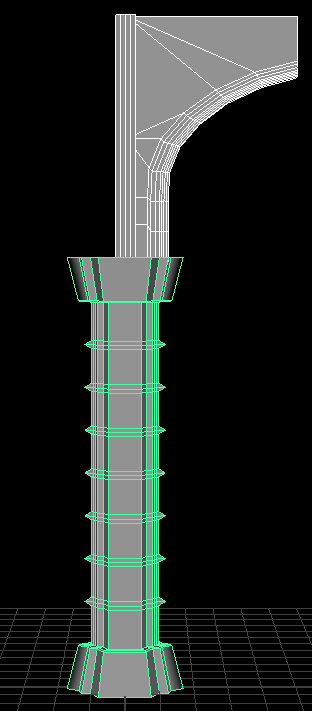
With these all modelled and UV’d I was able to start texturing, I wanted to utilise the Stone Tile material I made last week in Substance Designer but also wanted to incorporate some other materials and test out Material Assigning in Unreal.
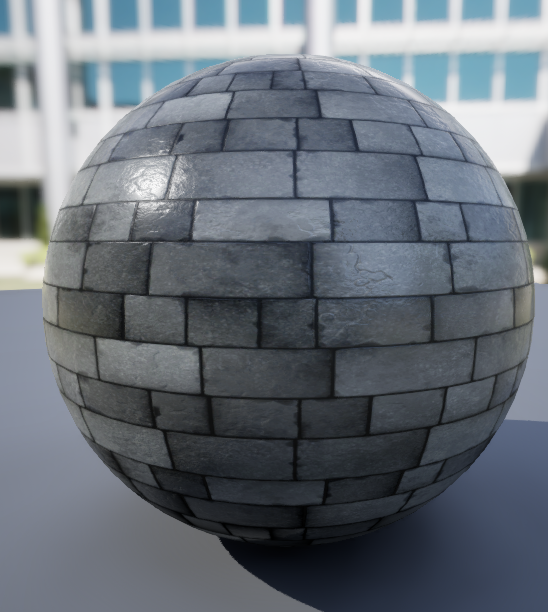
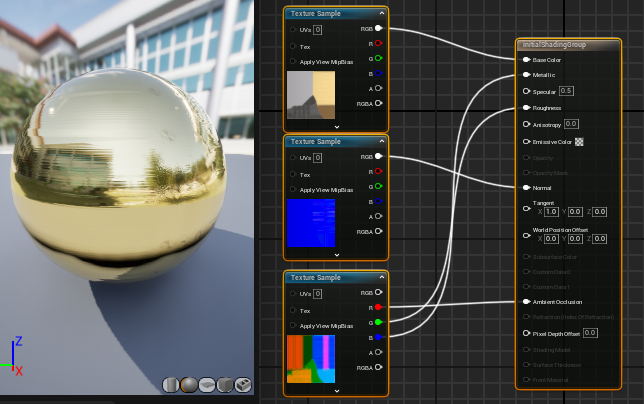
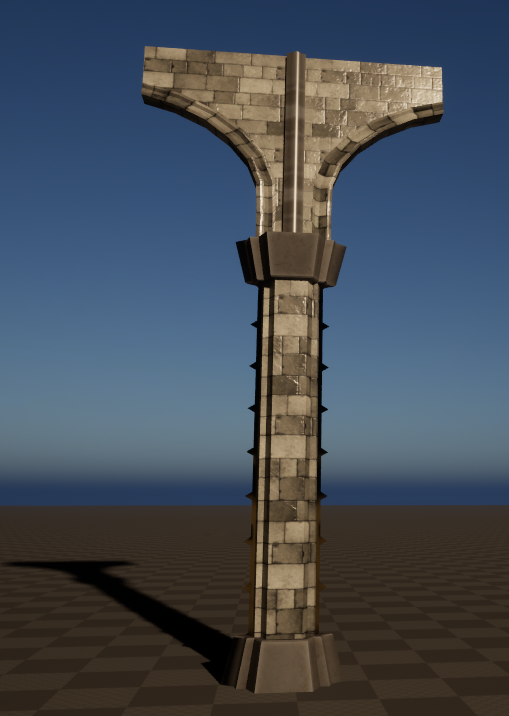
With these asset’s I was able very quickly produce this modular piece I am happy and comfortable with the workflow now and just aim to improve my textures on certain elements for the E2 submission.
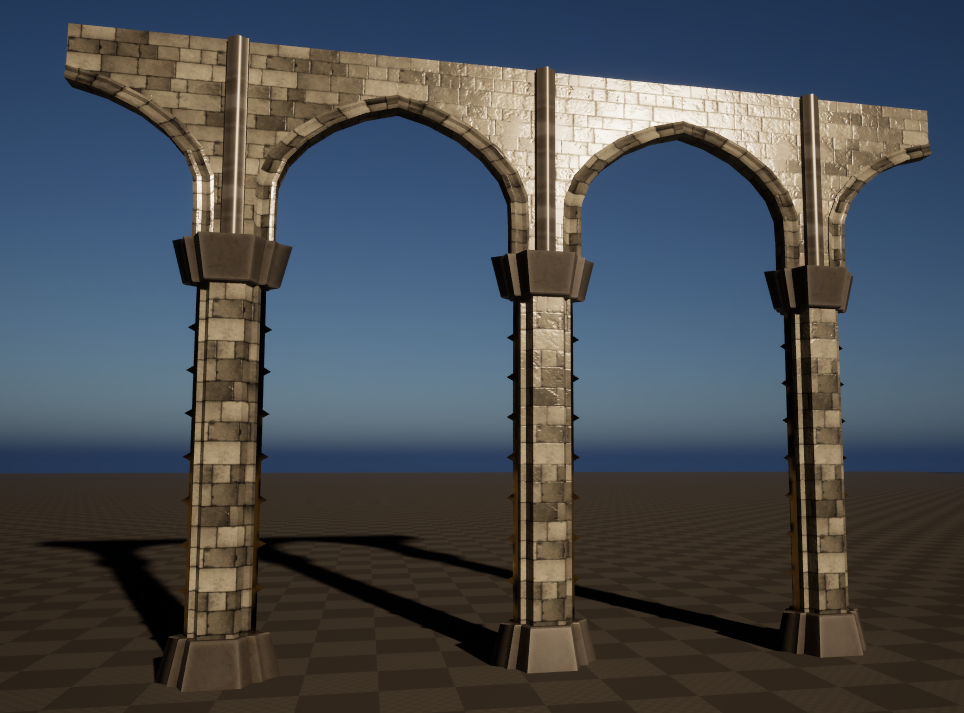
I started work on the Corner/End Arch so I could at least have a strong foundation to work from for E2 by having the arch elements finished

I took the original model I had planned to use for the corner piece and elongated it a fair bit to give some heigh variation to the pillars and scene.
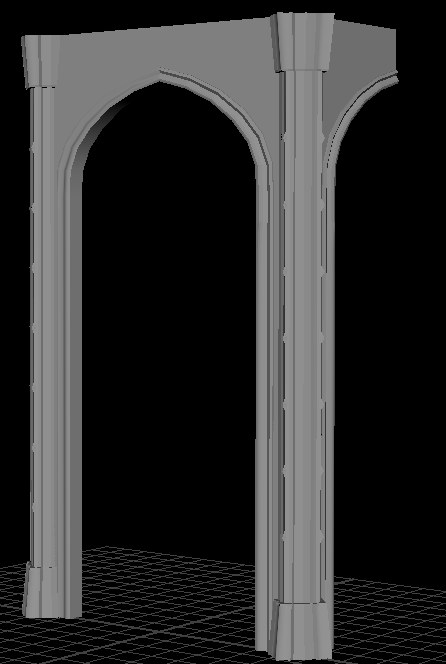
I then took my arches I had previously made, cut of the end and extruded it down as a separate piece which meant I could reuse the arch pieces I had already UV’d and just add the bit that reaches the ground in Unreal. This may present some texture errors due to overlapping seams but I can create a little stone piece jutting out to cover this seam if necessary.
I then went to Substance Painter to make some textures for my Pillars, I repurposed a metallic rough Iron and Gold texture that I had used in my Character Project with some tweaks here and there to roughness. I then used a Black mask to paint some of the textures in and out to give a more worn look to the assets.
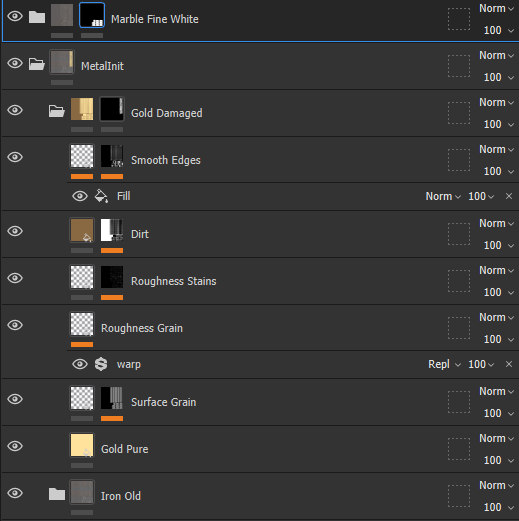
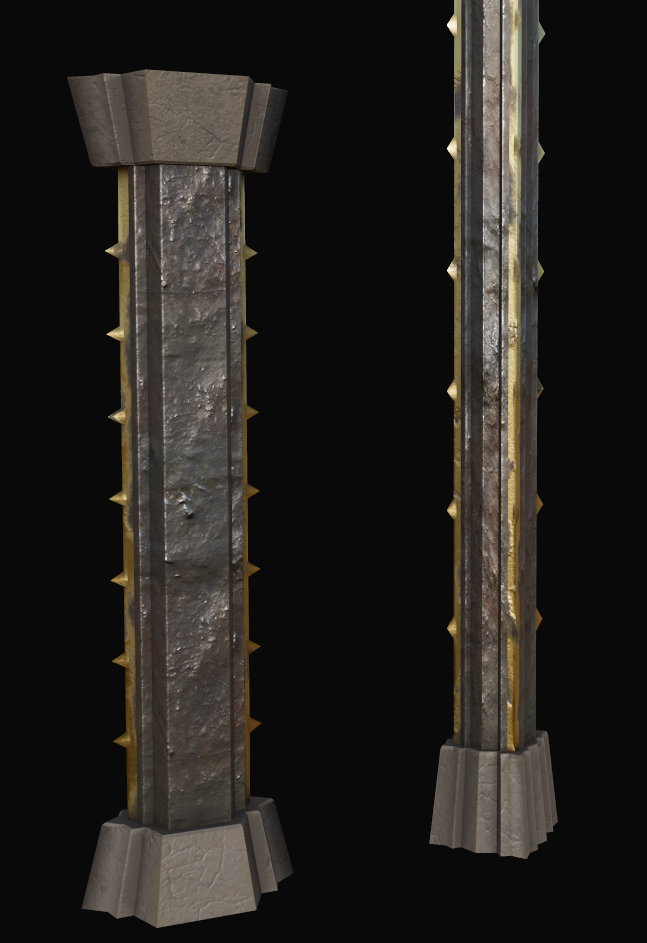
I was happy with the aesthetic but after discussing with Laura and throwing it into Unreal we quickly decided that it was too much Metal and the lack of brickwork didn’t fit the aesthetic we had in mind.
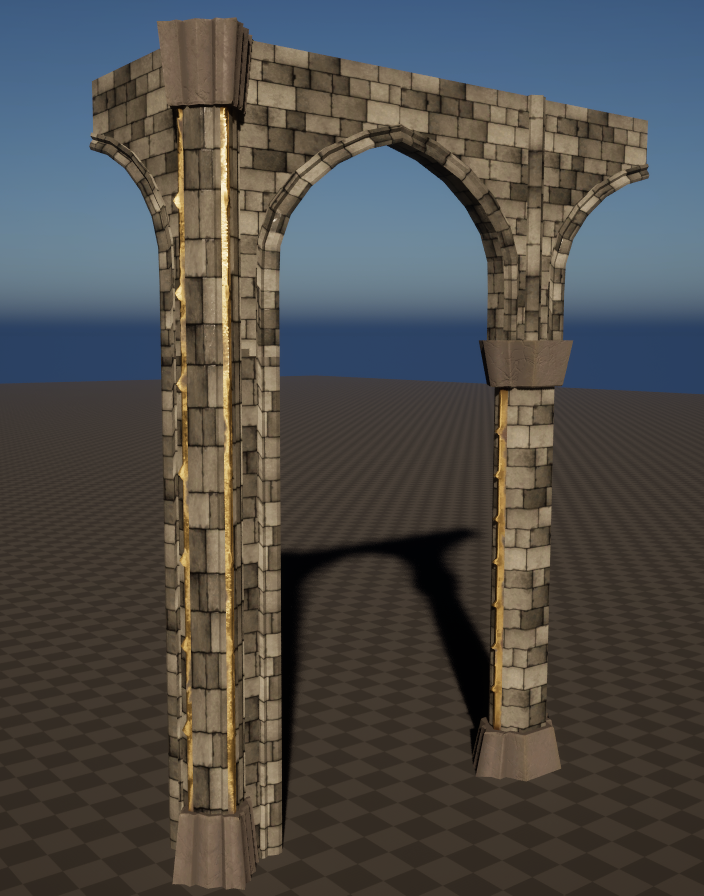
I brought the new corner asset into Unreal and applied the Substance Designer texture I had already made last week but felt it was a bit overbearing I decided to go back into substance designer and make a variation using the material I already had.
Here is what I produced:
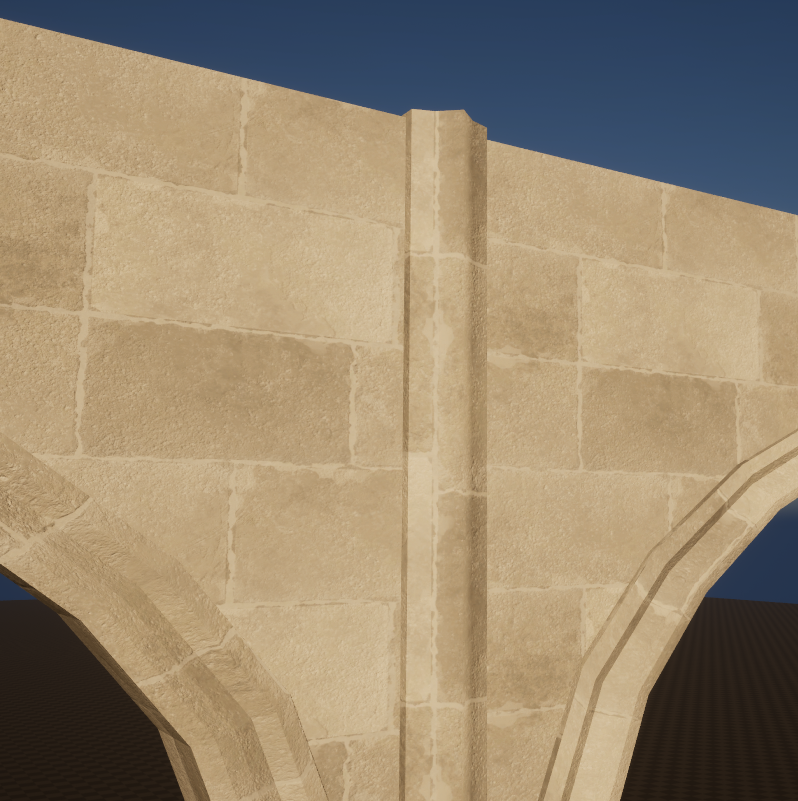
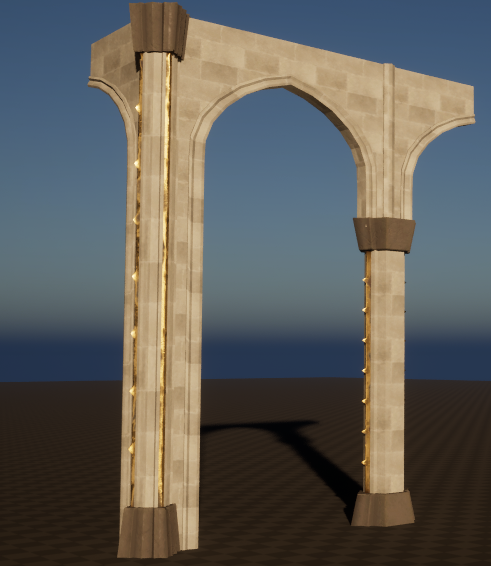
I spoke to Laura again about the new texture we liked the roughness, interstices and subtle colour variation but felt it was a bit too bright. Rather than going back to Designer I made a quick Colour and Multiply node.
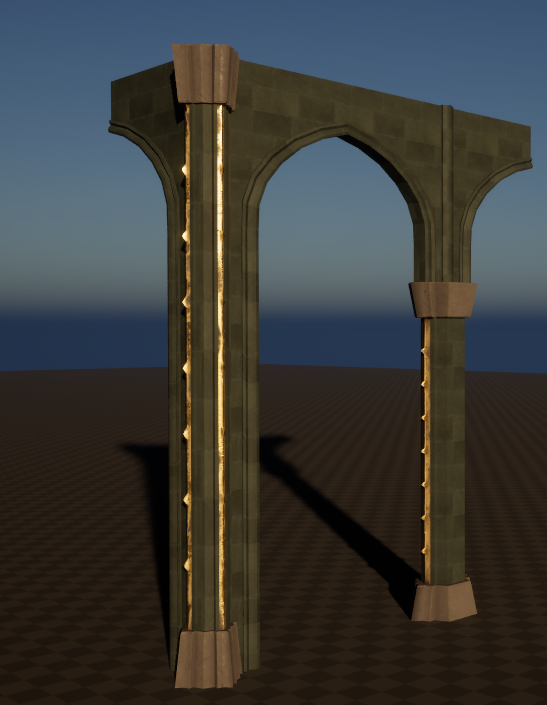
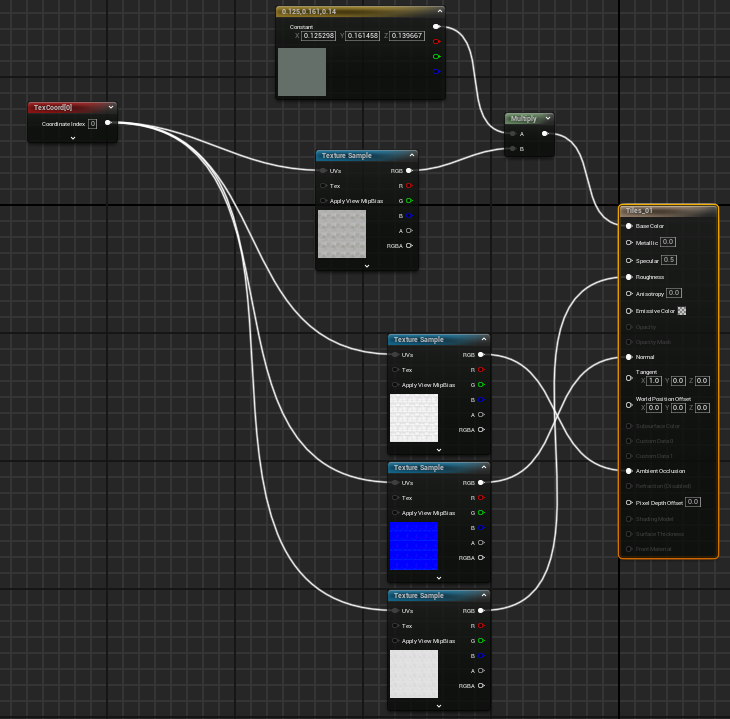
Here you can see all these Modular asset pieces and the new stone tile texture, these are a strong foundation and proof of concept for the workflow and a good submission element for E1.
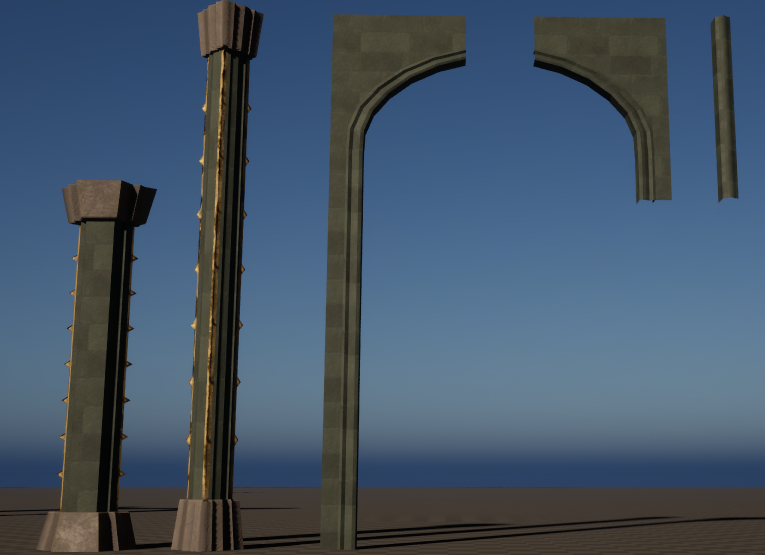
I can now use the Merge Actors function to create new meshes I can use modularly to create quick environments.
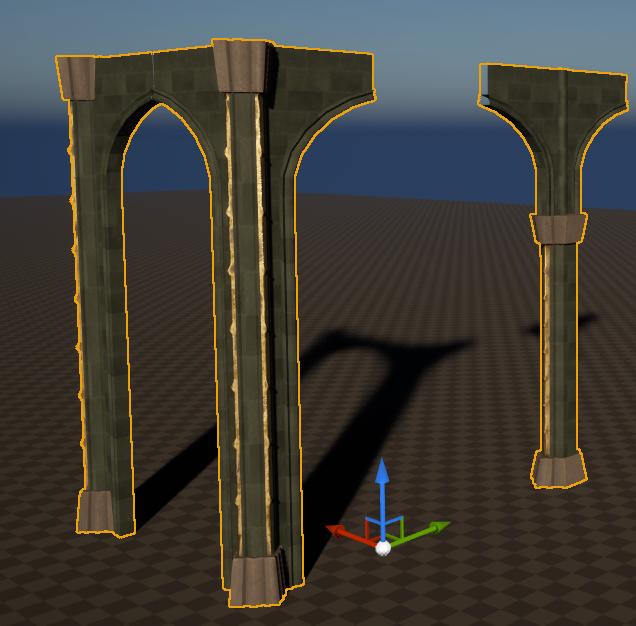
As you can see below with these Modular elements I can really quickly start to develop structures which can be use throughout the environment.
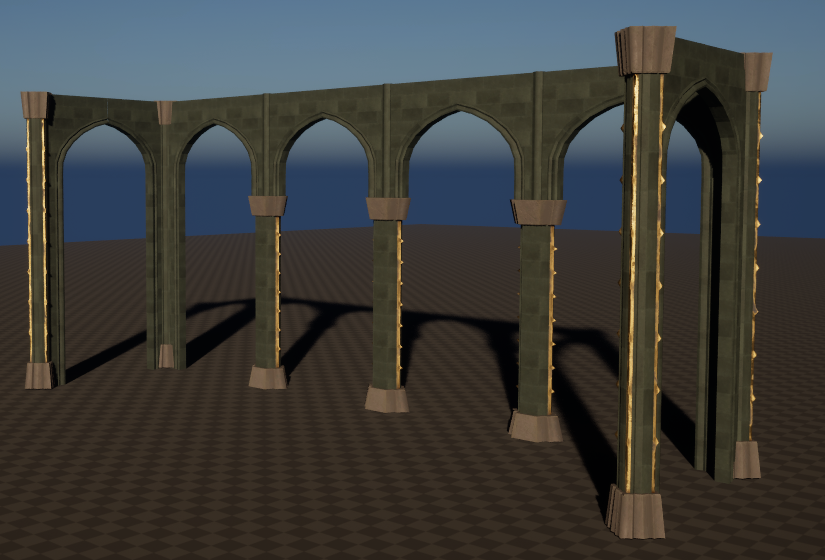
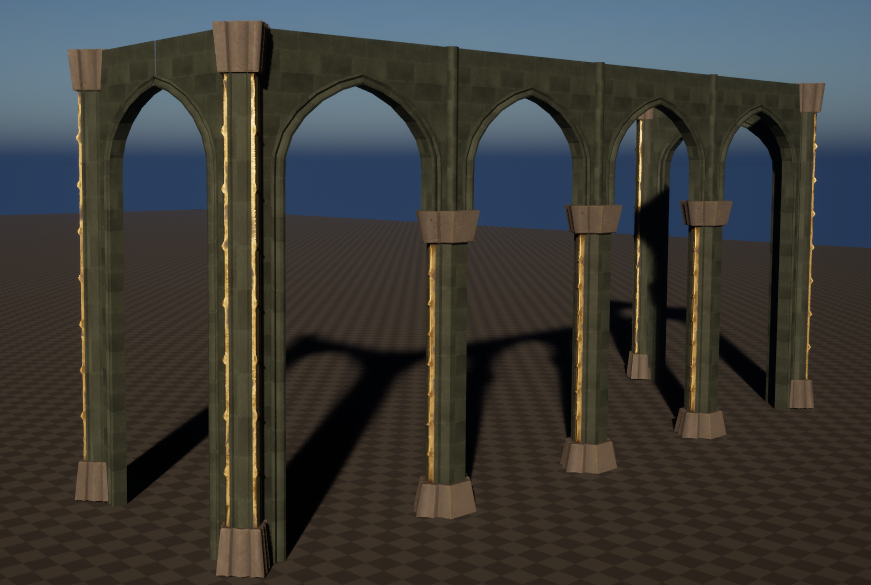
Following this I started working on other modular assets based on my floor plan/ modular plan
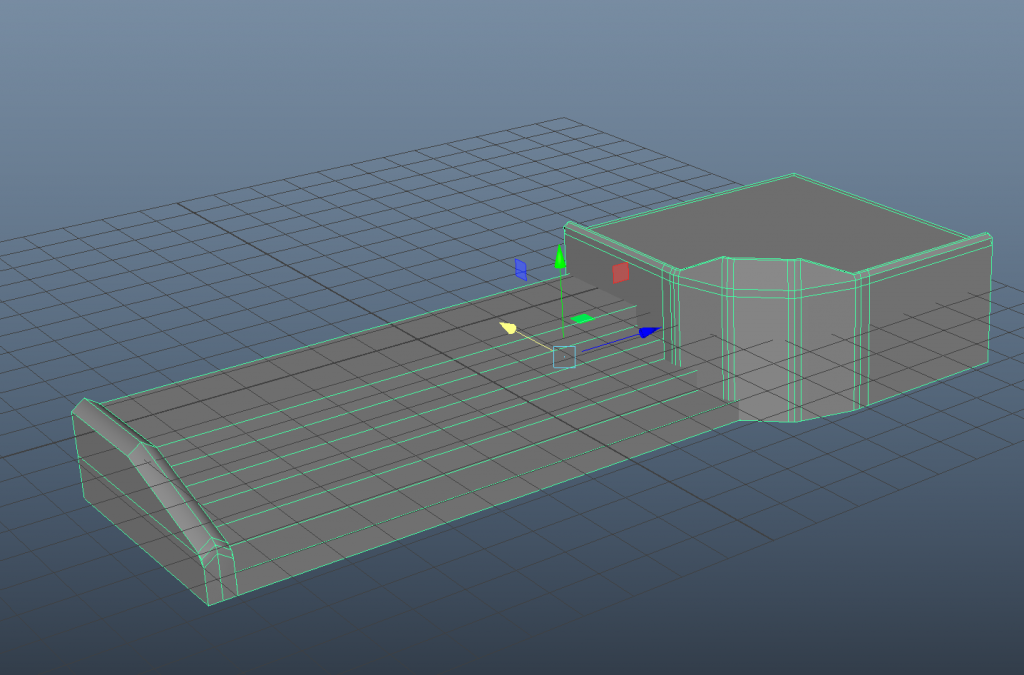
I made this corner stair piece for where the end of the corner arches are so I could mirror them and fit another set of steps between them at the side doors of the cathedral It is the green piece highlighted below.
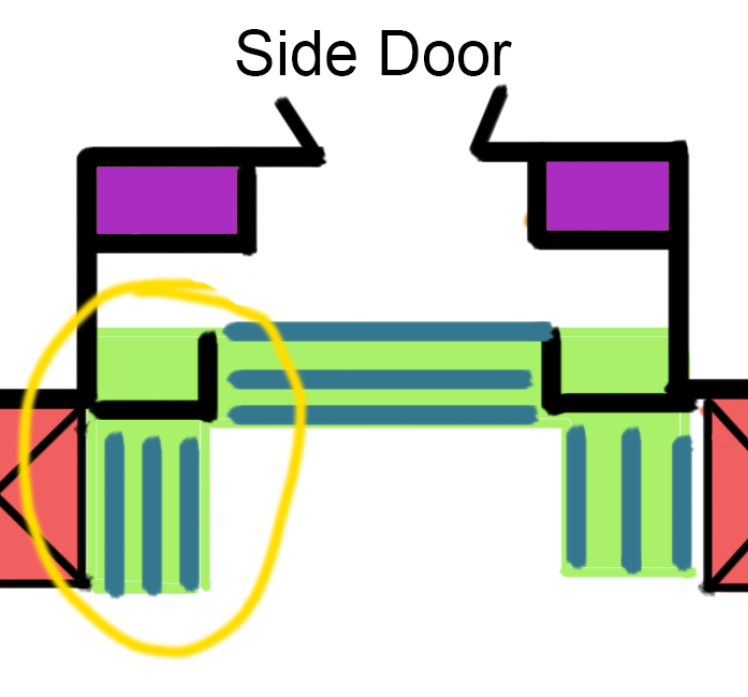
This is how it would look mirrored over with the stair piece inbetween.
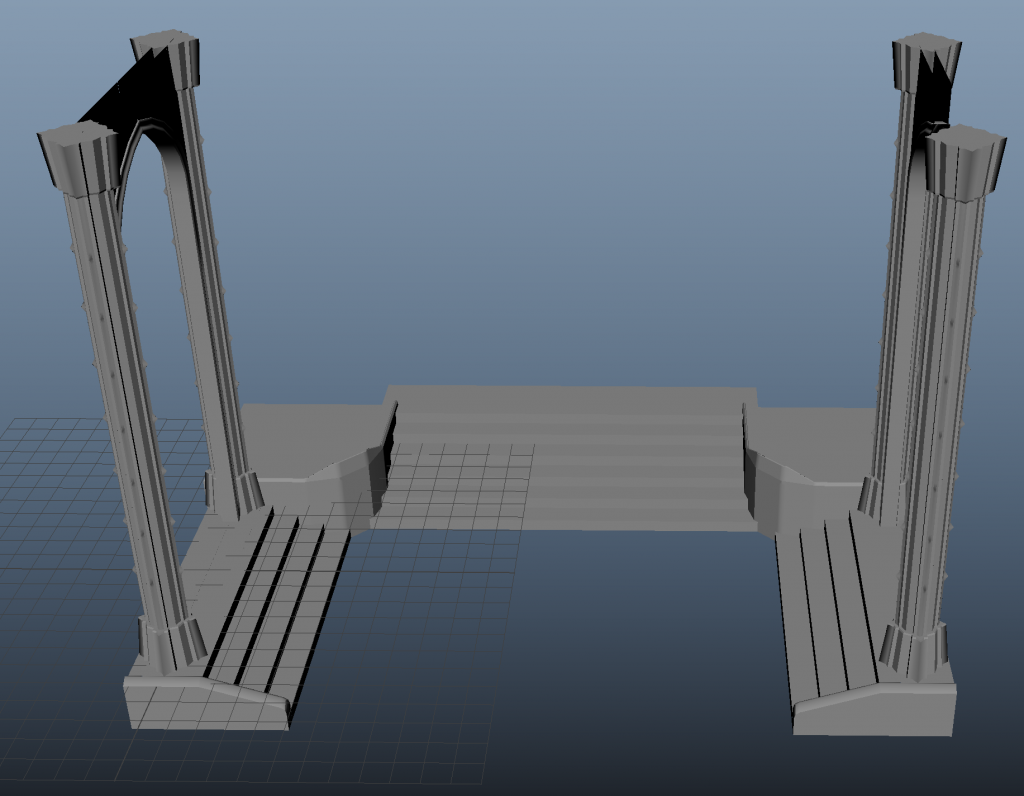
I UV and take these new assets into Unreal to texture and start merging Actors into bigger elements that I can re-use where necessary.
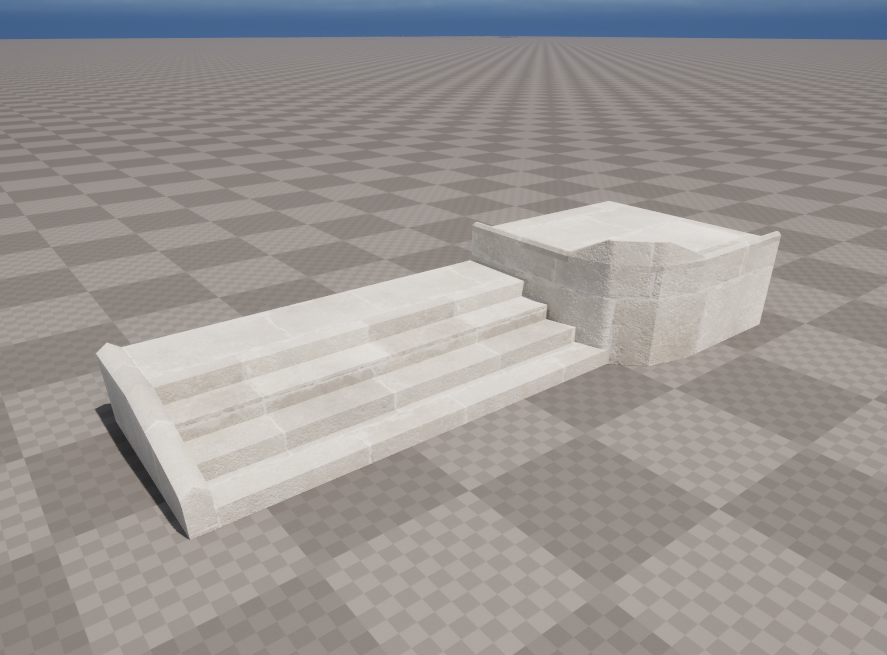
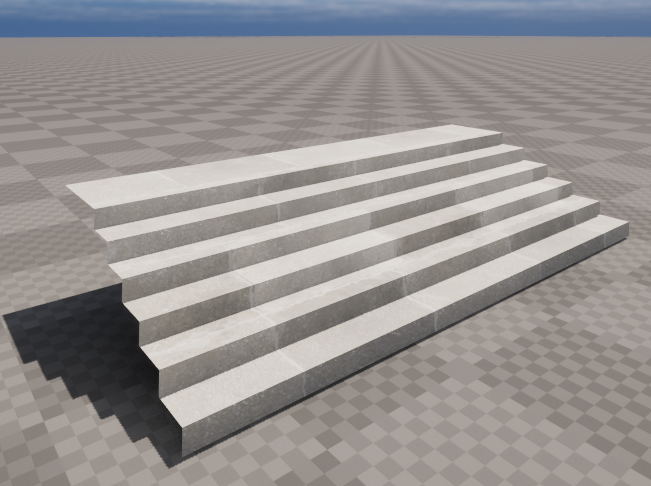
Here you can see them all combined and textured into one merged actor.
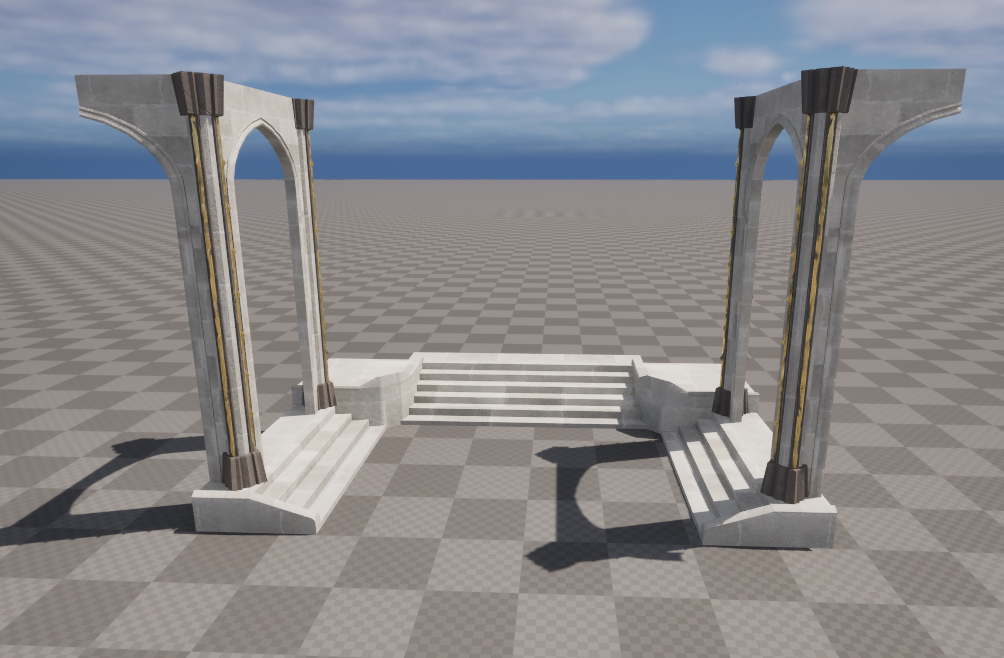
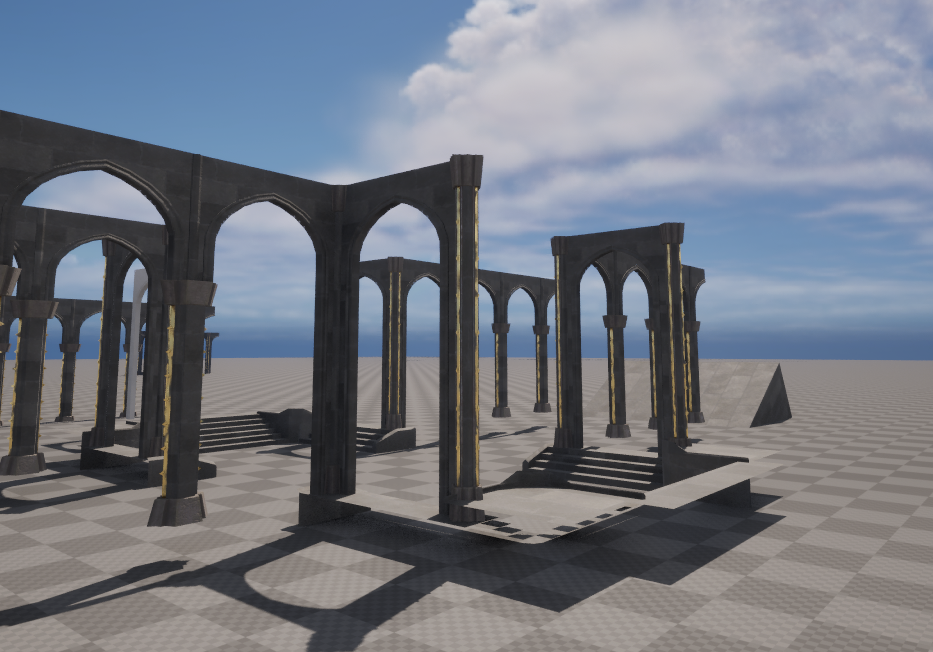

Using my modular assets I was able to produce the foundations above, I asked Laura for feedback and Amil and they said it was a bit small compared to the player model. So I plan to scale it up a fair bit later on.
Leave a Reply